© 2024 Tales from Outside the Classroom ● All Rights Reserved


I work at an arts integrated magnet school, and I’m always looking for meaningful ways to incorporate the arts into our day. I love using art in our parent gifts throughout the year, and Christmas is no different. Because I’m looping with my class for 3 years, I want to make sure to keep our Christmas gifts for parents fresh each year, so I was on the hunt for some new ideas. I’m really happy with the two projects we did this year and I thought I’d share.
DIY Marbled Cards
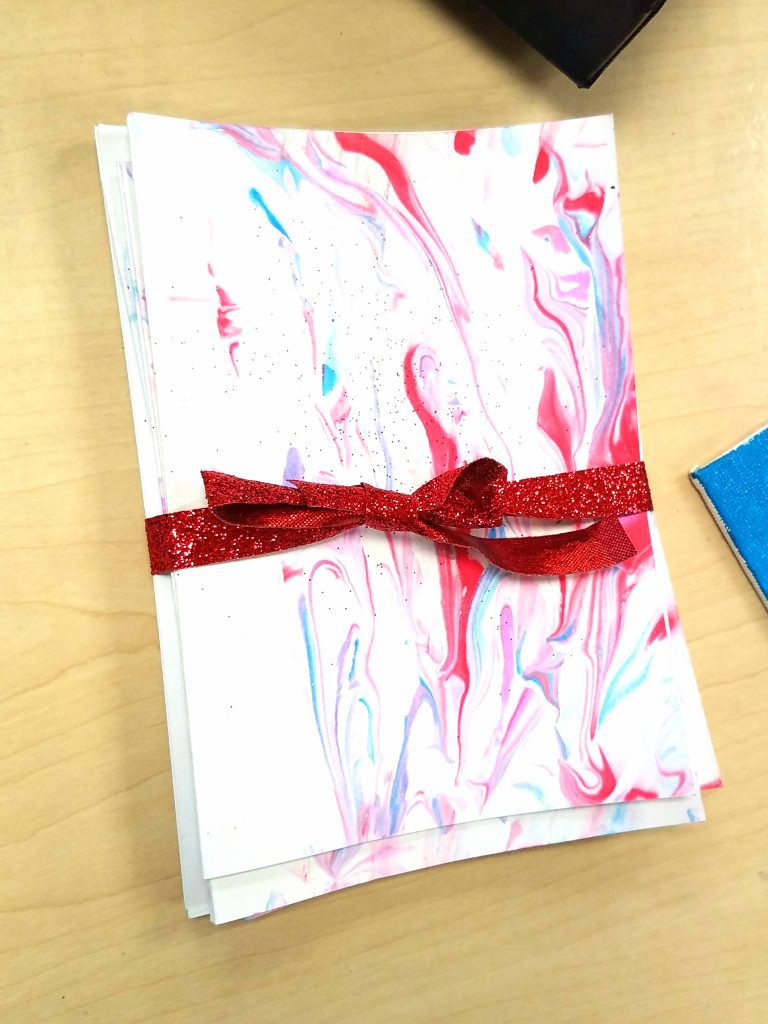
I love following The Artful Parent for art inspiration for my classroom. I came across this post on making marbled paper with shaving cream, and it gave me the idea to do marbled paper cards as a Christmas gift for parents. I bought a couple sets of cards and envelopes so I had enough for my students each to design 4 cards. I then just used a baking dish from home, dollar store shaving cream (make sure it’s the cream or foam and not the gel), little popsicle sticks I had bought for a project, and liquid watercolors we keep stocked at school.
Items needed: cards and envelopes, shaving cream (1 can was enough for me), liquid watercolors, dish large enough to put the face of the card inside, popsicle stick or other stirring item, cardboard or other similar surface to clean card off with, lots of newspaper to contain the mess, ribbon to wrap the cards).
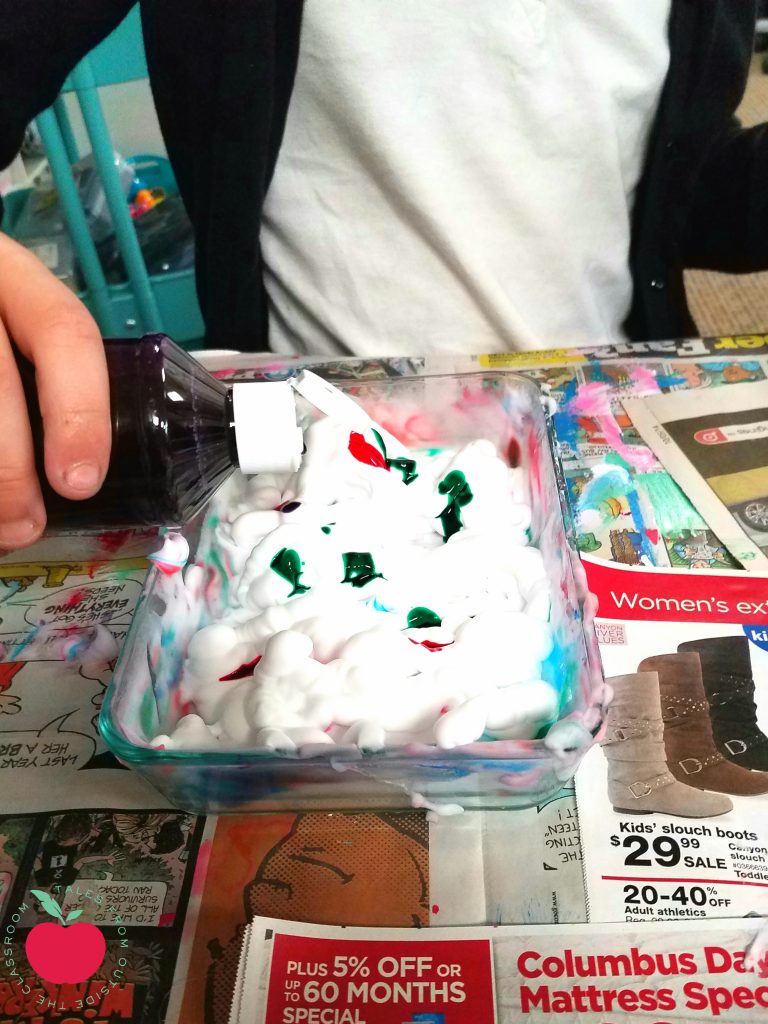
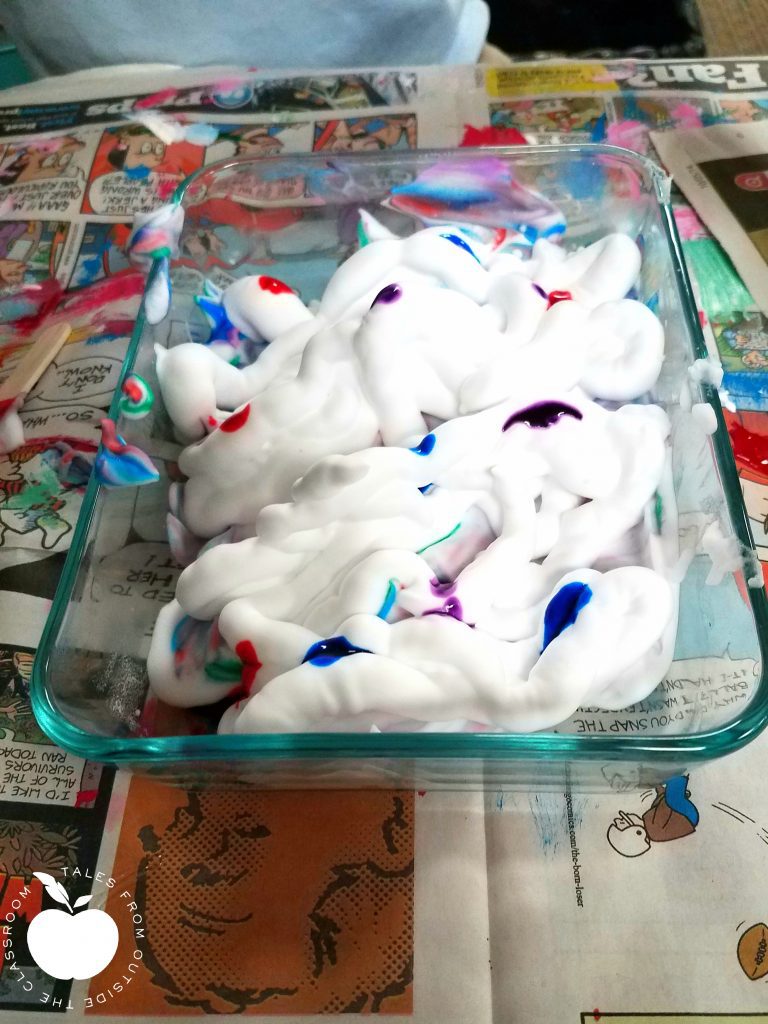 First, I spread shaving cream along the base of the dish. Students chose a few colors to use and put 4-5 drops of each in the dish. For a stronger marbled color, more would be needed. But, given that I would be replacing the shaving cream every 4 cards, I didn’t want to waste. Then, students used a popsicle stick to swirl around the colored dots.
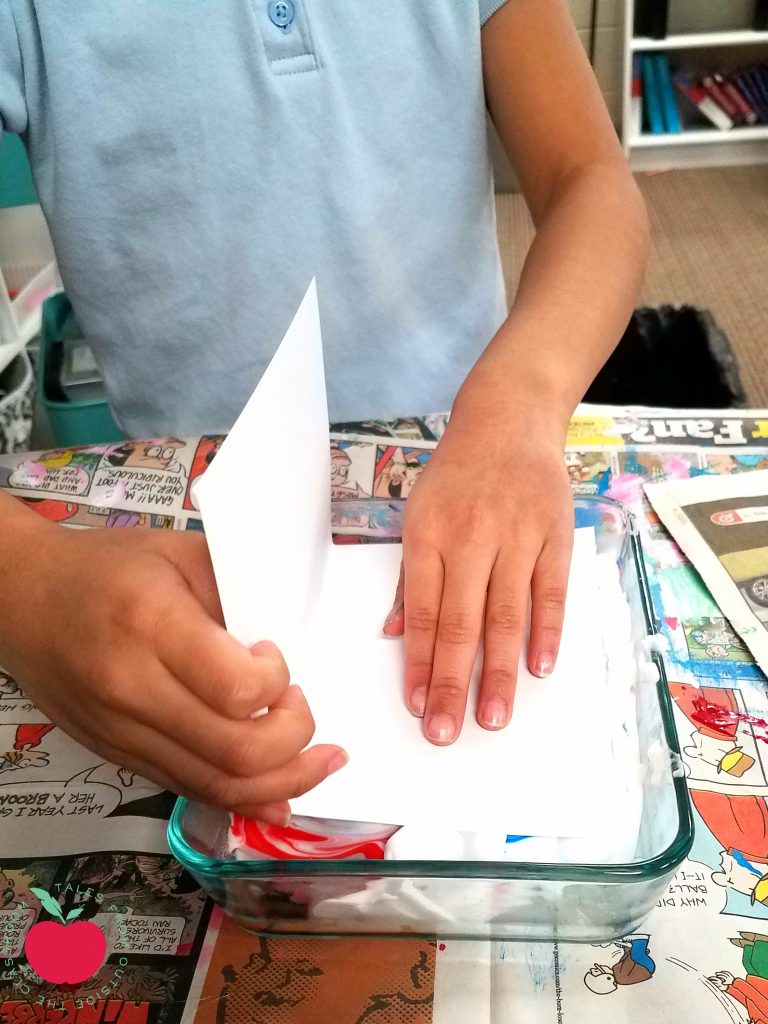
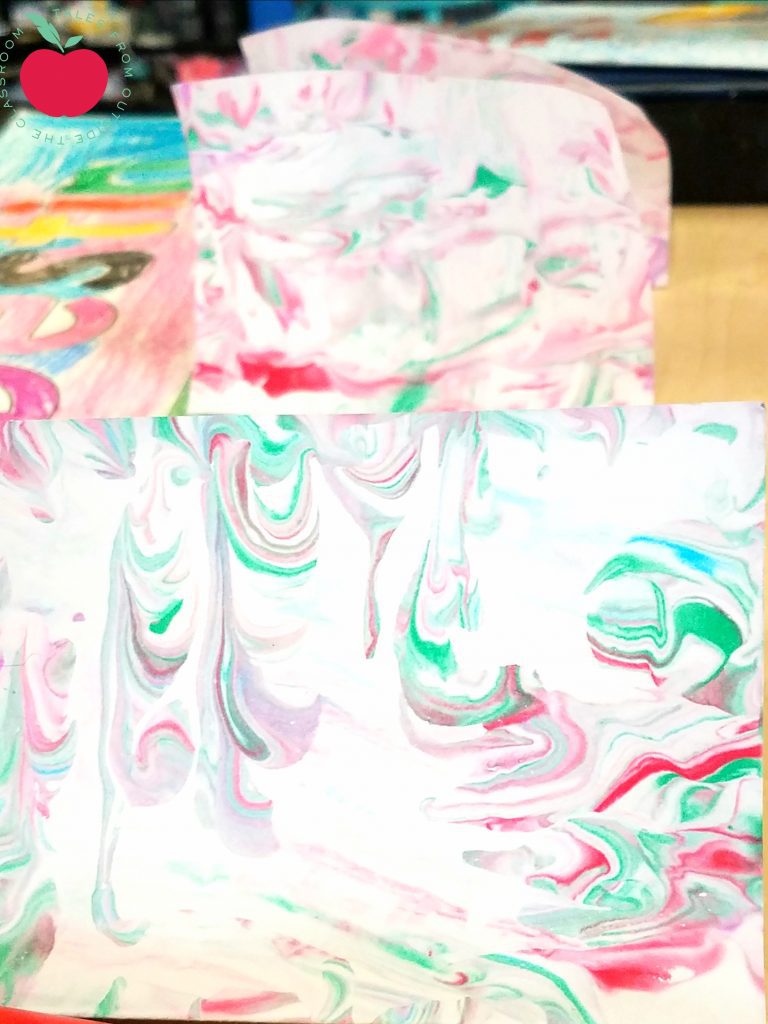
Students gently set a side of the card down into the shaving cream and pushed around the card to ensure cream touched as many spots as possible. Then they gingerly lifted the card up for me to slide the shaving cream off.
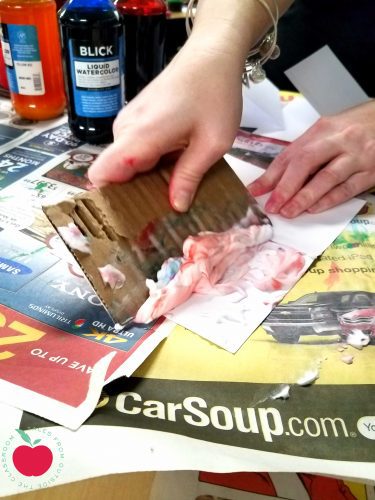 This is where things got nice and messy, but it’s also where the students ‘oohed’ and ‘aahhed’ as they saw their paper turn colors. Every card I’d take the remaining cream and slide it onto the side of the garbage can while students were pressing their next one in. It’s important to get all of the shaving cream off the card so I sometimes would take a second swipe to get a little bit that was remaining.
 After one student finished, I’d put a bit more shaving cream in the dish on top of the old one (in an effort to not waste too much and to speed things up).
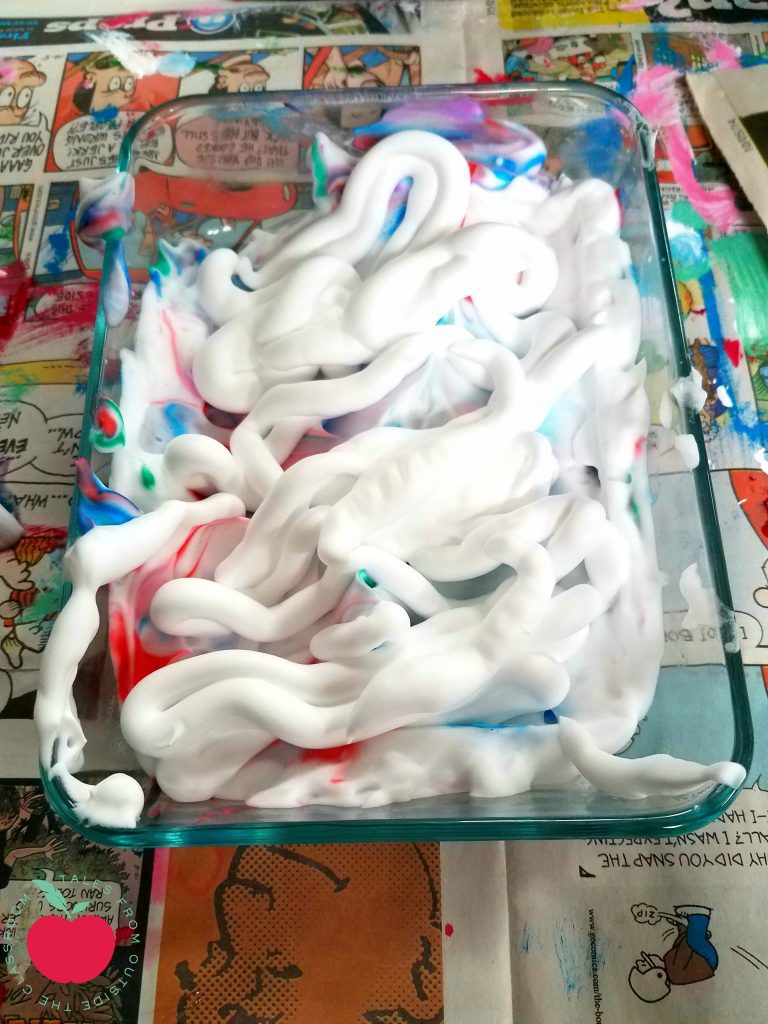
 Then the next student would add their colors on top and repeat. I completely cleaned out the dish after every 3 or 4 students. This helped keep things fresh for each student, and it kept previous colors from creeping up too much and browning or purpling everything after students mixed.
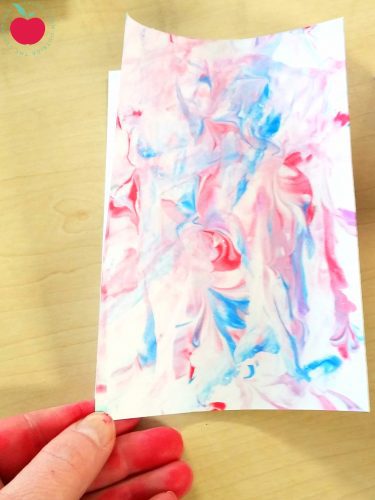 I laid the cards out on my table for a few minutes to dry a bit; though they don’t take too long to dry. After several minutes, I’d move the cards to students’ desks to finish drying.
 Because the cards had gotten wet with the shaving cream, they curled up a bit and didn’t close. To help this, after the cards were mostly dry (drying doesn’t take too long) we stacked them all on top of each other upside down and laid a couple books on top to flatten them. We were able to leave them for an hour or so and it was enough to help flatten them out.
Students used an Ultra Fine Point Sharpie to write their names on the back of the cards as the designer of the cards.
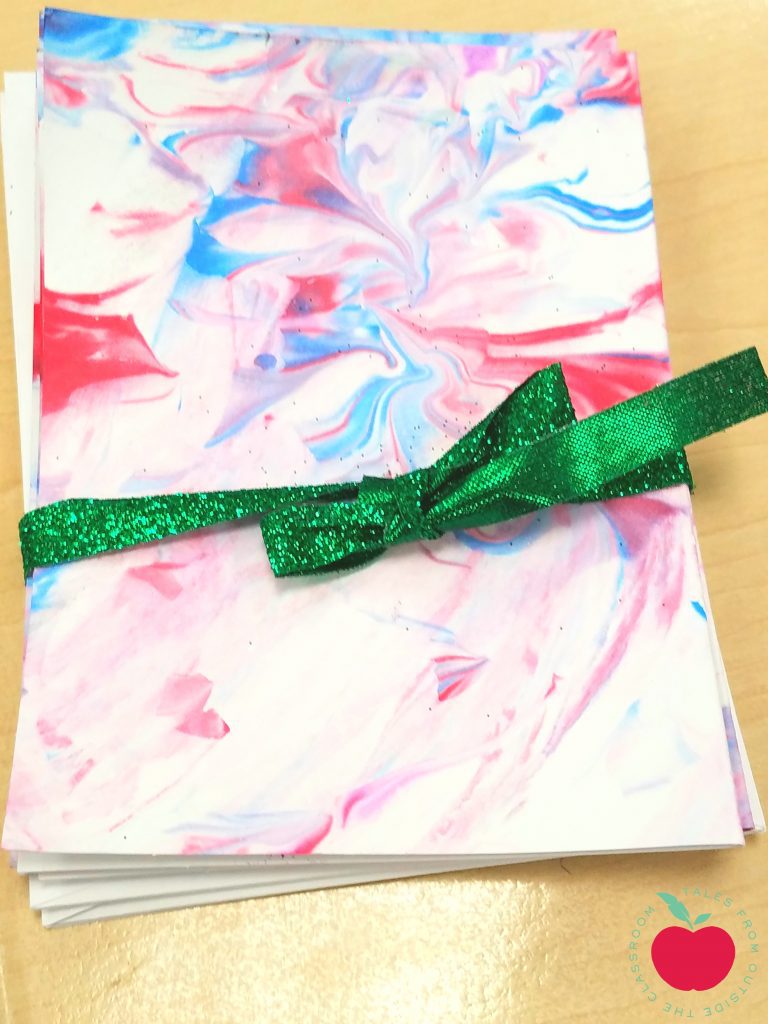
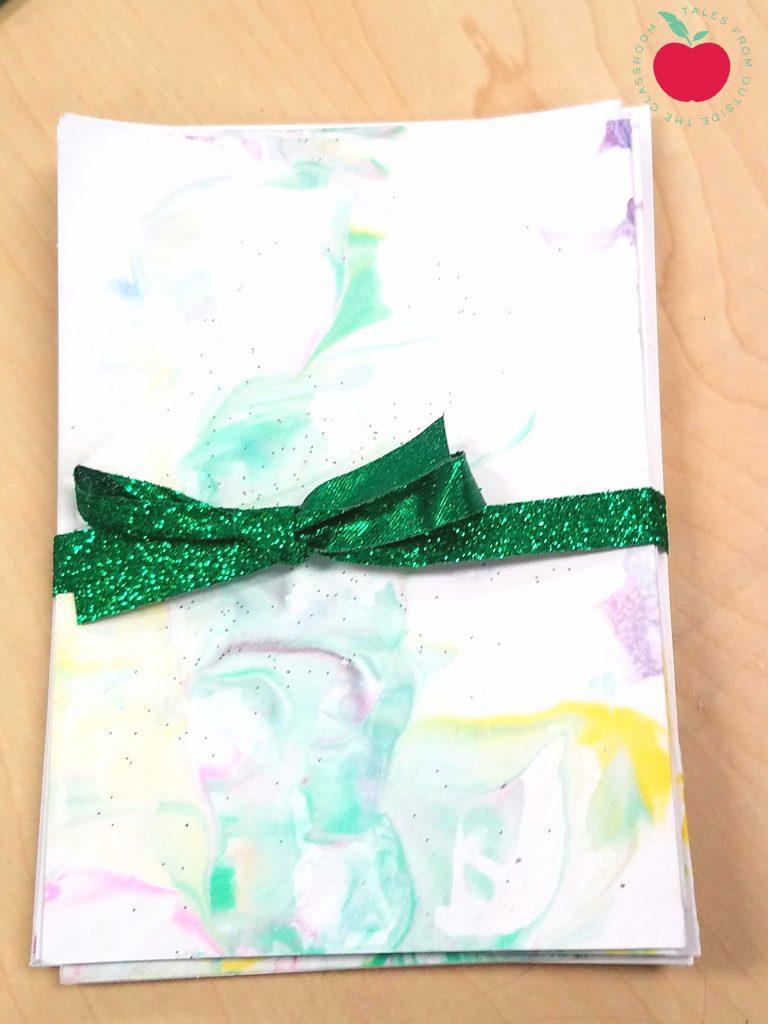
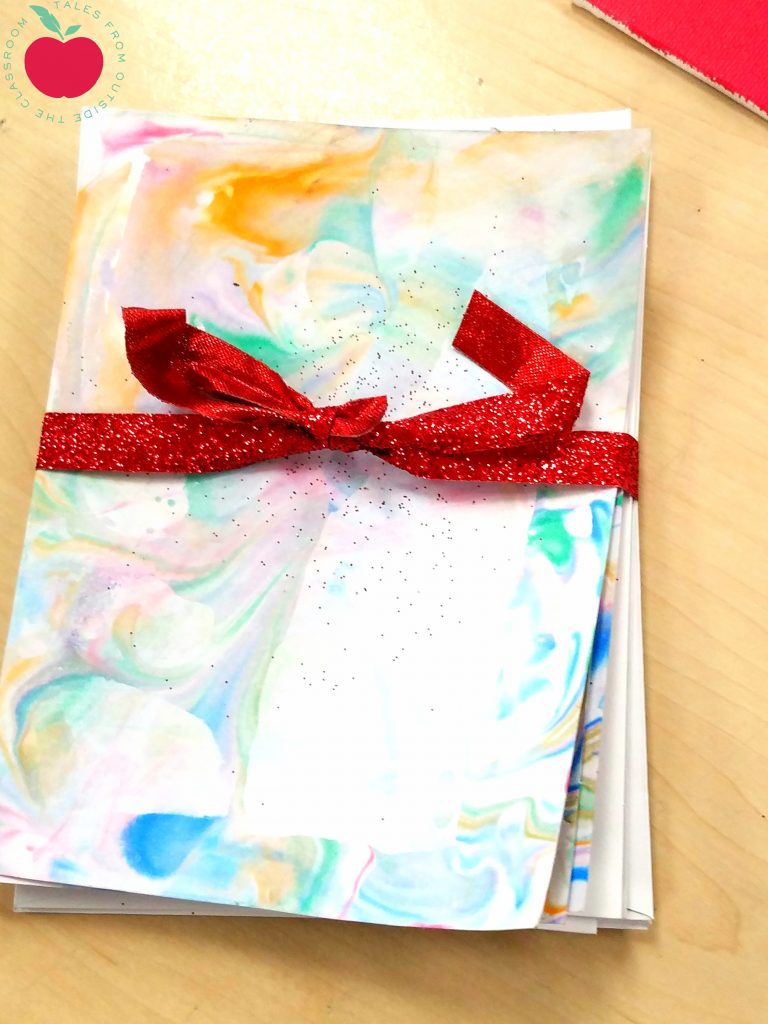 At the end of the day, students chose if they wanted to use red or green ribbon to wrap their cards. They’d come up, I’d stack them on a set of 4 envelopes, and make a quick bow.
I talked with students about giving all 4 cards as a gift to someone they care about. They didn’t quite understand why we were giving cards as a gift because in their minds cards are cards- not gifts.
The kids were excited to have the cards and I have a little suspicion that the ribbon was quickly tossed for the kids to give the cards to people for Christmas. I’m just fine with that too. 🙂
While this was a certainly messy project, it was also certainly fun and relatively easy and inexpensive for parent gifts. I think we’ll be making marbled paper for some other projects in the future.
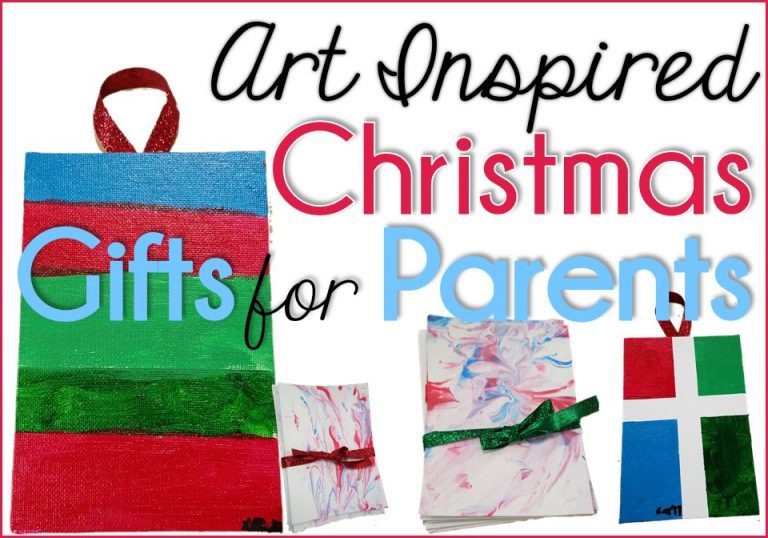
Geometric Painted Canvases
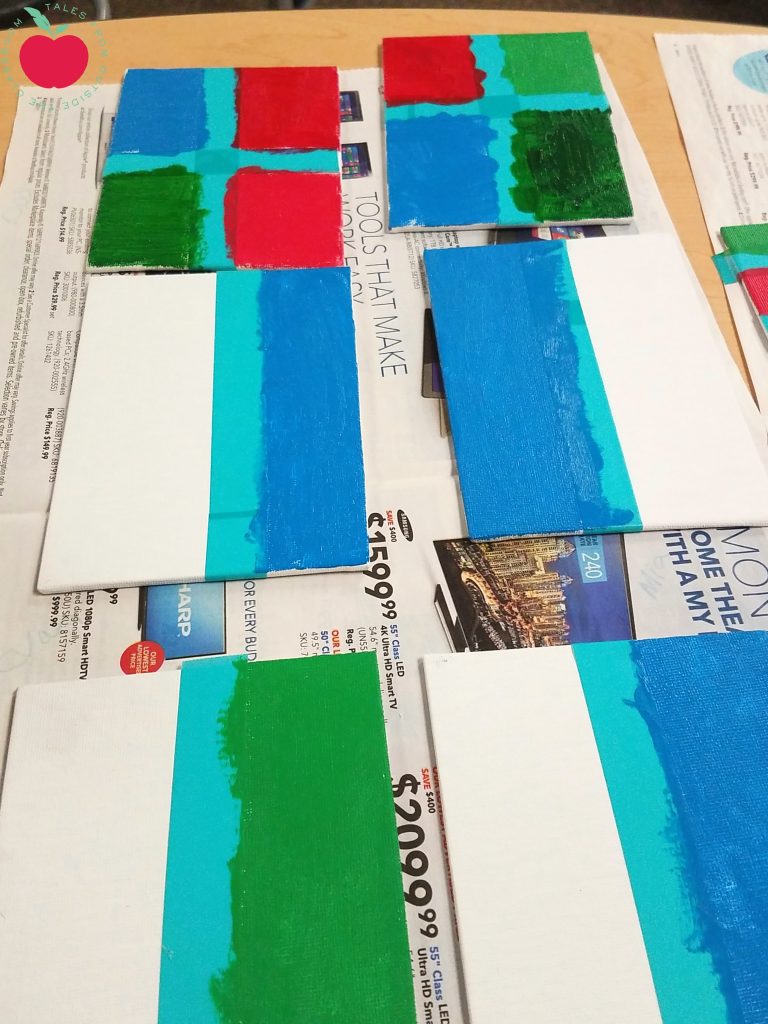
I also decided to do a purely art parent gift- canvas ornaments! I know a lot of people do the clear glass ornaments with either paint or pictures as Christmas gifts, but those have never turned out for me (I’m full of Pinterest-fail stories!). I got the idea as I was browsing around Hobby Lobby. I purchased the smallest and cheapest canvases I could find and only spent about $12 on them. I then bought acrylic paint and used washi tape I already had and paint brushes we have at school so it wasn’t very expensive. I got mine from Hobby Lobby but these from Amazon are similar.
Ideas needed: small canvases, paint, paintbrush, washi tape or painters tape, paint pen, newspaper
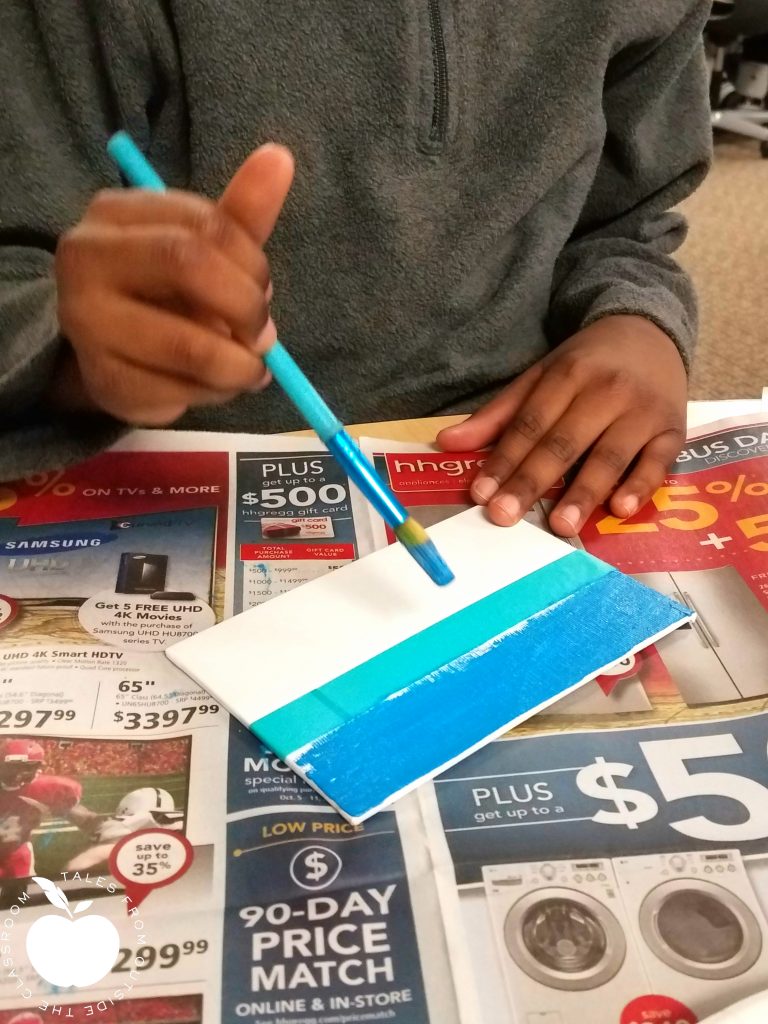
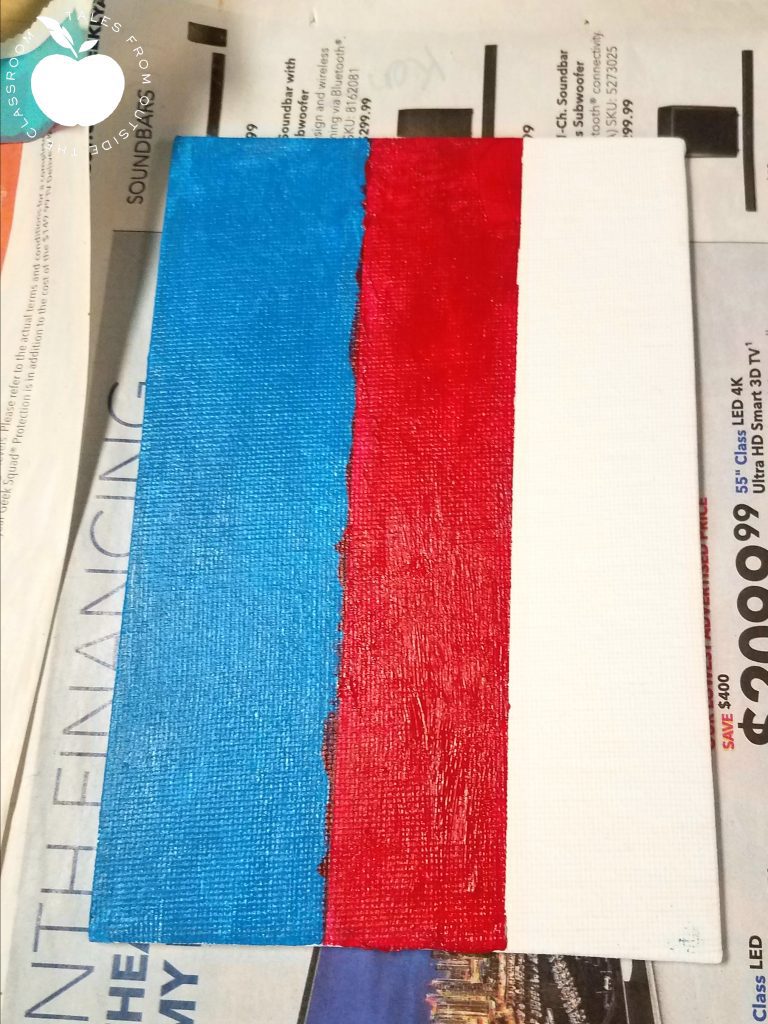
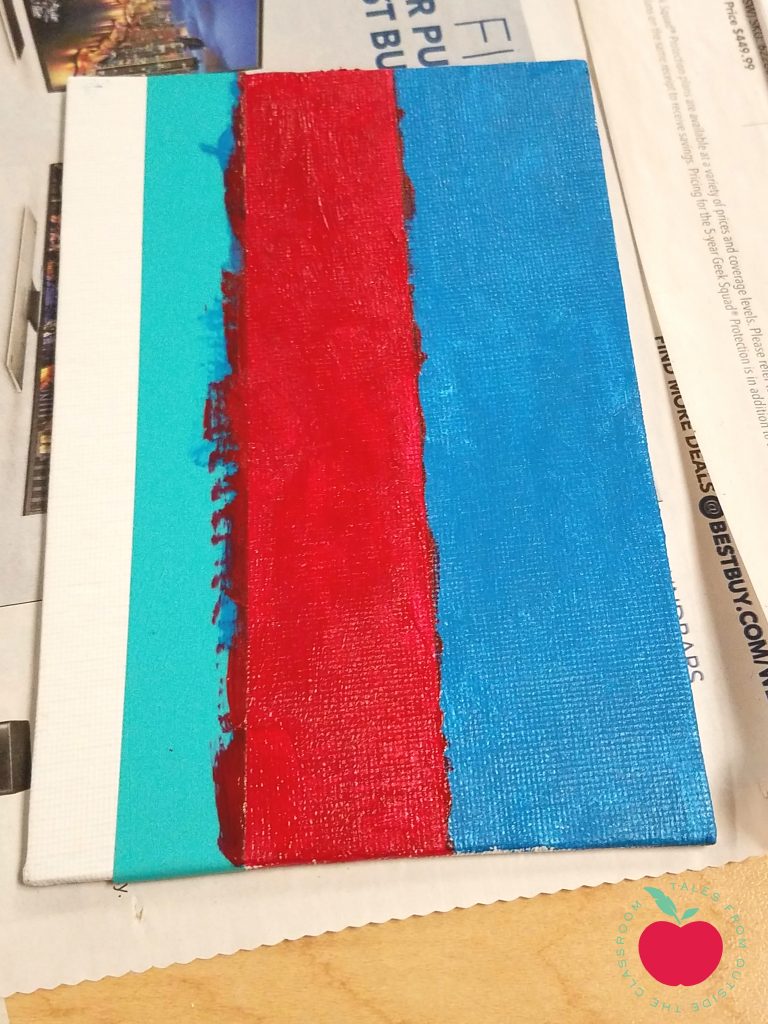
To begin, I had students use washi tape to divide their painting into sections. I modeled two sections so most students started there, but several others divided their paintings into 4 pieces.
![]()
Students had 6 colors to choose from and painted one section to start. We talked about how we would need for it to dry before removing the tape, and being able to paint the other side.
We let the canvases dry while we worked on other projects.
Then students had the option to use more tape to further divide their canvas to create additional sections to paint if they wanted.
I tried to keep my directions pretty vague on this because I truly wanted the kids to design the canvas all on their own. It allowed their creativity to really shine through! Some students got inspired from others they saw, some had great ideas all on their own, and some even dabbled in mixing paints to get new colors. It was a great opportunity for me to let go and really let each child’s personality and creatively shine through.
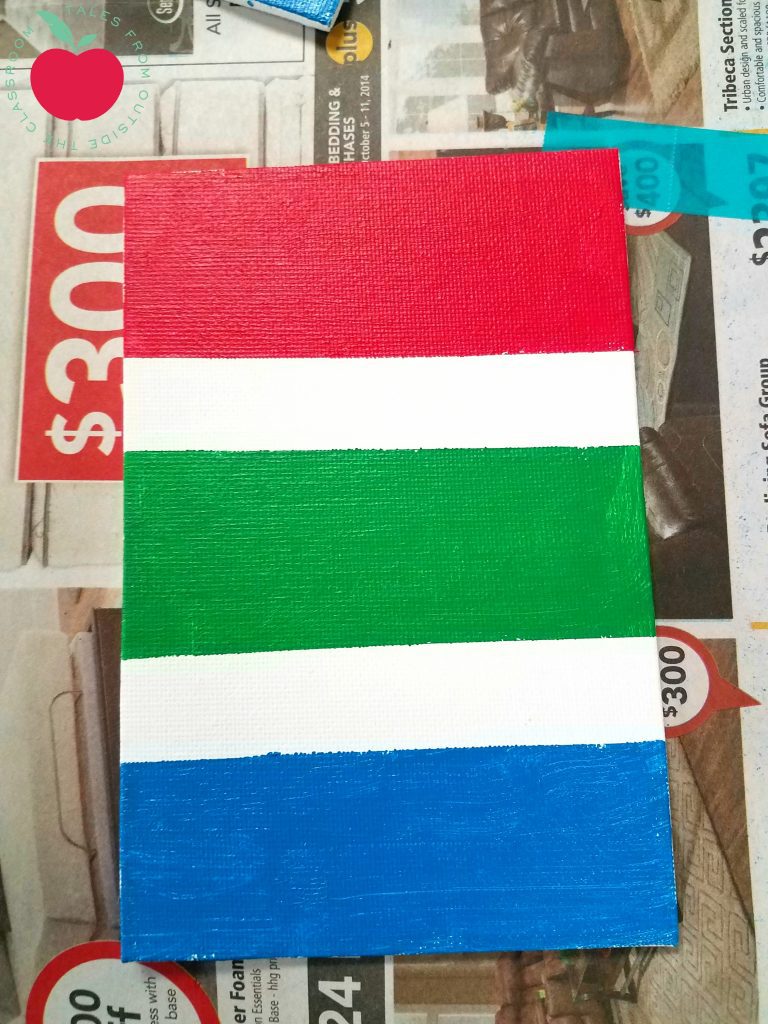
Some students decided to leave the white canvas come through after we removed the tape. Others used white paint on that section rather than leaving the natural canvas. Others added paint onto that taped section, albeit that paint wasn’t as neat and orderly as other sections were.
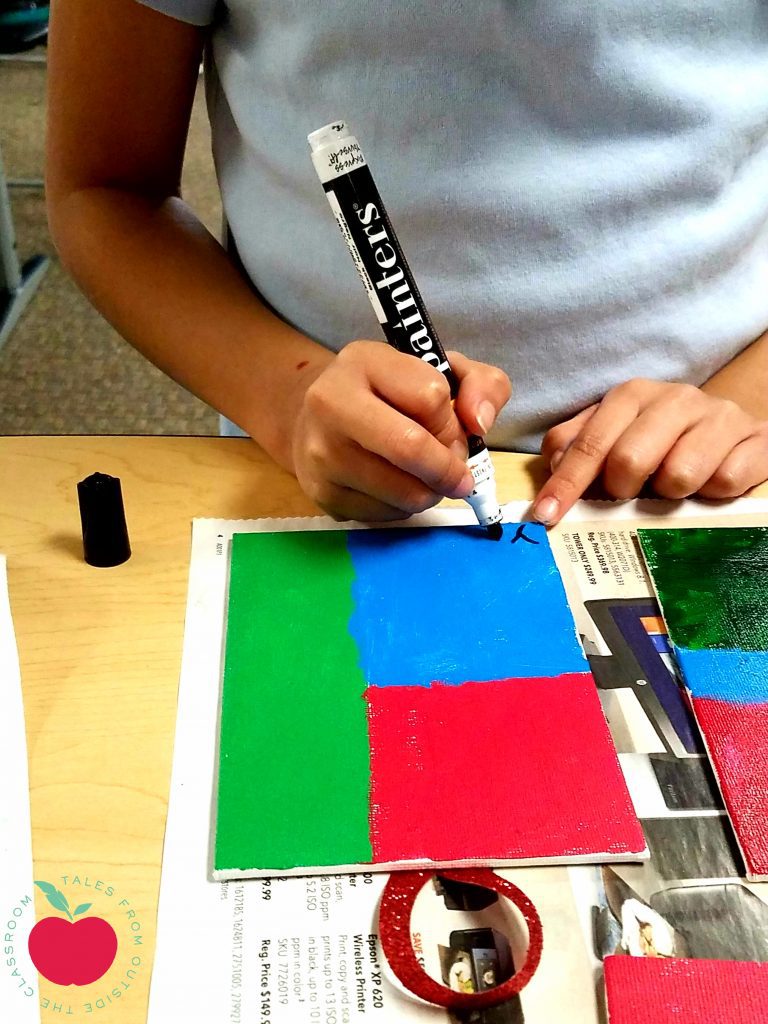
After drying, students used an Elmer’s Painters paint marker to add their initials and year to sign their canvas. This was the black paint marker I already had on hand, but any paint pen or marker will do.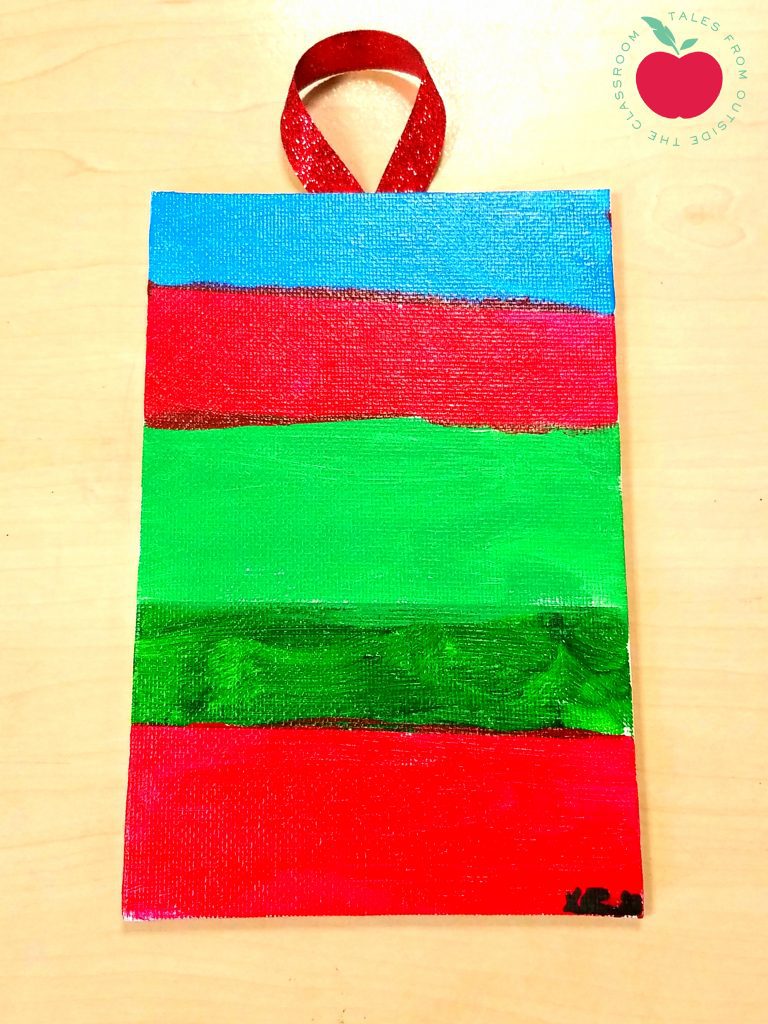
After drying completely, students chose red or green ribbon as their ornament hanger which I hot glued to the back. I also made sure to ask students which direction was up before gluing.
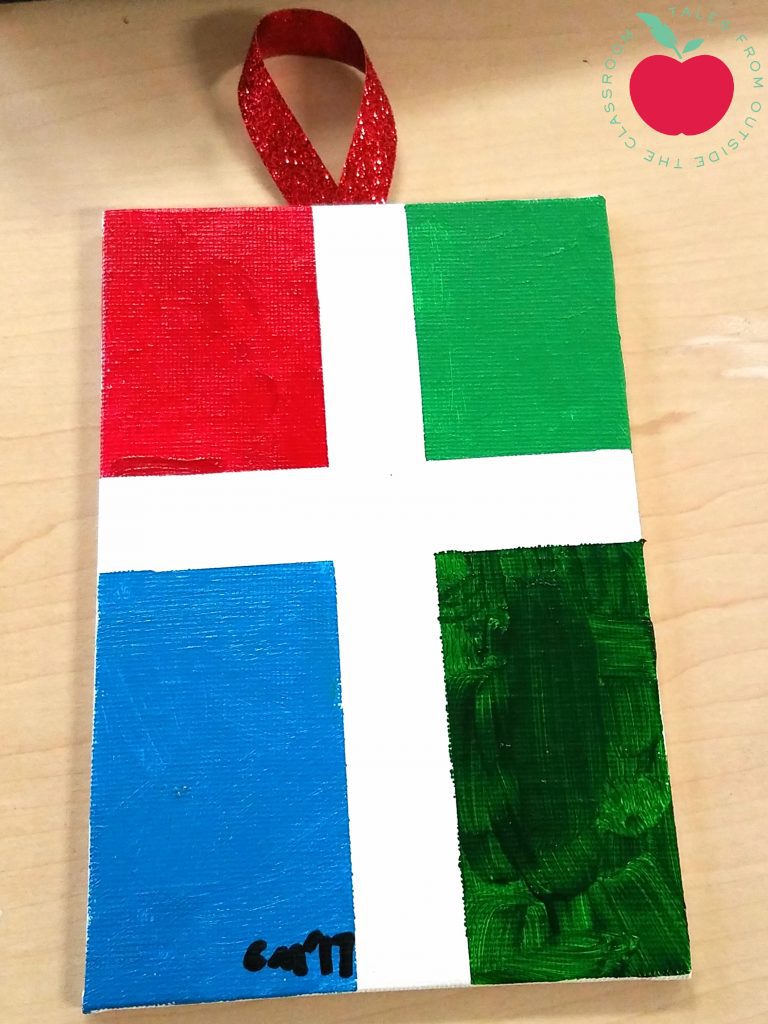
I love how these little mini paintings turned out! While they are larger than a typical tree ornament (I’d probably look for smaller canvases in the future), they also could be used on a door or on a hook. I think the best part about student created ornaments is saving them over time and watching children grow.
We had a great time creating our parent gifts this year, and I love that they were very student focused instead of teacher focused. These will both be redone in the future.