© 2024 Tales from Outside the Classroom ● All Rights Reserved


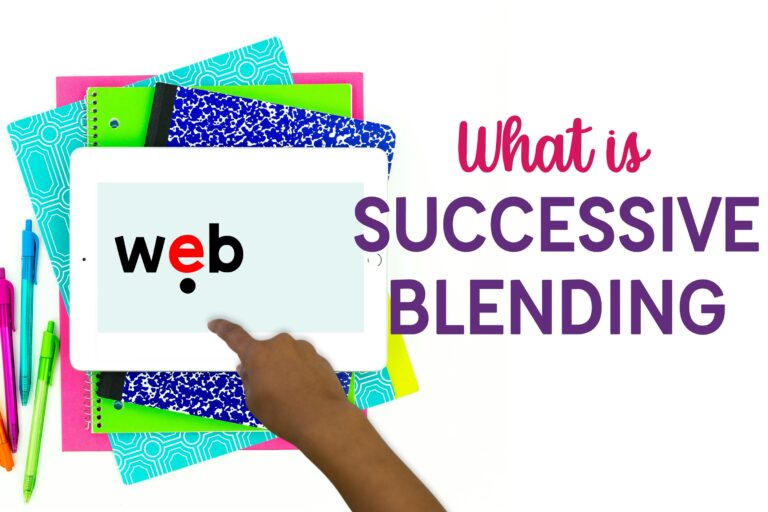
Successive Blending is a decoding strategy for students that struggle to blend more than two sounds when reading words. It’s really a blending strategy to support readers that are struggling with decoding. Many of these students add and omit sounds when blending. Some students even blend words that seem disconnected from their sounds. These are those students that say /m/ /a/ /p/ and then say “fat?”. It’s also a great instructional strategy for those students that add a schwa on to their letter sounds, both in isolation, and while blending. It helps students connect with the vowel immediately so they don’t feel the need to add that vowel sound (the schwa).
Who should practice successive blending?
Successive blending is a great instructional strategy or intervention for those students that can identify the phonemes in a given word, but are unable to successfully blend those sounds into the given word. For students still struggling with letter sounds, successive blending can be implemented by using the sounds that are already known. It’s a great way to dive into word reading with students very much still working on phoneme-grapheme correspondence, and phoneme segmentation and blending.
What are the steps for successive blending?
Successive blending is exactly what it sounds like- in succession. Readers say the the first sound in the word, followed by the second sound and immediately blend those two sounds together. Then, the third sound is said and is immediately blended with the first two sounds. This process requires less short term memory and is a great strategy for students that struggle with working memory skills.
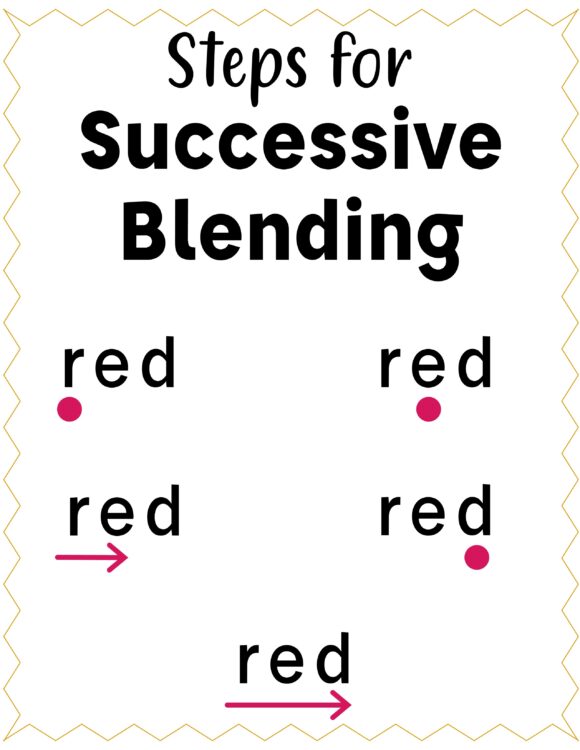
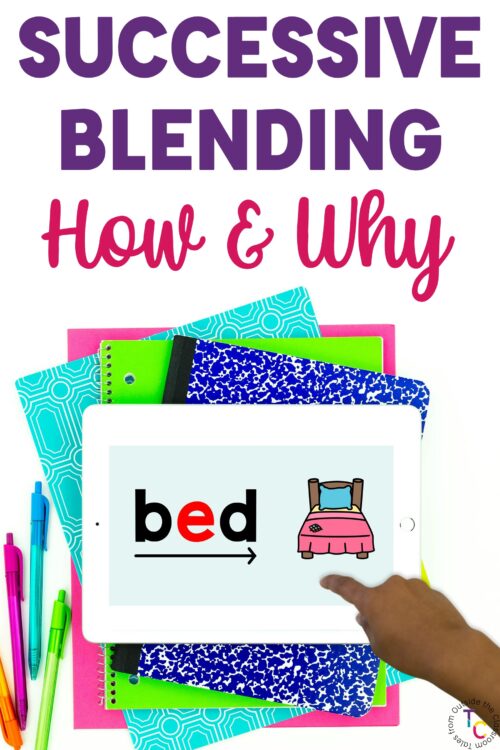
Here’s an example for reading the word “red” using successive blending:
-
-
-
- The reader looks at the first letter and says /r/.
- The reader looks at the next letter and says /e/.
- The reader blends the first two sounds together and says /re/
- The reader looks at the last letter and says /d/
- The reader blends /re/ and /d/ together to make “red”
-
-
How can you implement it?
Successive blending is a strategy that can be incorporated within your existing phonics and phonemic awareness work. Because it’s a blending strategy, once students are familiar with it, they are able to use it anytime they need to decode an unknown word. But students need repeated practice to build proficiency, as it’s typically used for students that are struggling to blend words successfully. For this reason, it’s also a great tool to explicitly teach and reinforce within your small groups or intervention groups.
Card Drills
My favorite way to intentionally practice it is through a sound and word reading card drill. This routine takes about 5 minutes total, and gives students quick and focused practice on reading a variety of real and nonsense words. I’ve since learned it’s similar to the 3 part drill from OG, but I did this with my intervention students for years before knowing that. My favorite part is that it’s super easy to implement! All you need are letter cards. I have made cards using regular index cards or I’ve also printed ones on my own.
For students that need review in letter sounds, I like to flip through the card deck for a quick practice connecting each sound with each letter. Then I lay the cards out as detailed below to create the stacks for our CVC words. For students that don’t need that sound review, I have the cards ready to be stacked in each of their piles detailed below. Typically, my students that need practice with successive blending are working at the CVC word level so I’ve detailed the steps to include that below. However, I’ve also implemented it with words with blends because many students struggle to add that fourth sound into their blending after spending lengths of time at the CVC level.
1. Set up your letter cards
C– I like to include “floss rule” letters (FLSZ) here to prevent inadvertent practice with only one letter instead of 2. I include c here to prevent words from ending in it, and we only work on hard c sounds despite the continued vowel. There are even times I eliminate it from our practice so as not to make things more difficult to learn the soft sound later. H, J, K, L, R, V, W, and Y are also always in the first pile either to prevent practicing with letters that create vowel digraphs, or letters that affect the vowel. This also includes two of the letters (v, j) that never end a word in English. I sometimes include Q here so we can practice saying the sounds, but I often eliminate it from practice since it’s not regular.
V– the vowels go here
C– I include g here for hard g practice since that’s the first sound taught.
It seems like a lot to remember, but it becomes pretty intuitive once you’re into it. And if you inadvertently include a letter in the wrong spot, you’ll notice it right away when students go to read it, which makes it easy to adjust. If I’m doing successive blending card drills with CCVC, I also think through where the consonants should go. I include f and s in the first stack, and the t, l, m, n, r in the second stack. Some cards are then eliminated from practice so they’re not practiced as the final sound. I then, at times, have to be intentional with my flips and return some cards back in order to practice blending those sounds.
2. Flip over the cards to blend words
Once the cards are set up, you’re ready to begin. Flip over the cards, blending the sounds as detailed above- sound, sound, blend, sound, blend. With card drills, students get exposure with both real and nonsense words. Practicing with nonsense words, which may seem counterintuitive, actually ensures students aren’t just reading words that are stored in their long-term memory. A great routine is to have students identify the word as a real word or nonsense word before continuing on to the next word. When doing card drills, I only change out one card at a time, rather than all 3. You can turn over any amount you’d like.
I made a super quick video tutorial showing how I use letter cards to practice successive blending with words with initial blends.
Successive Blending Slides
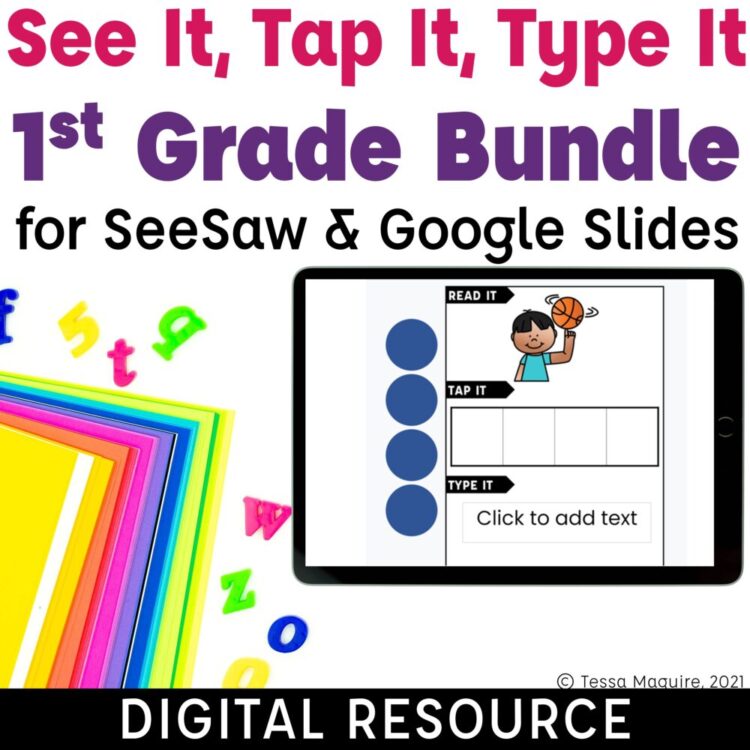
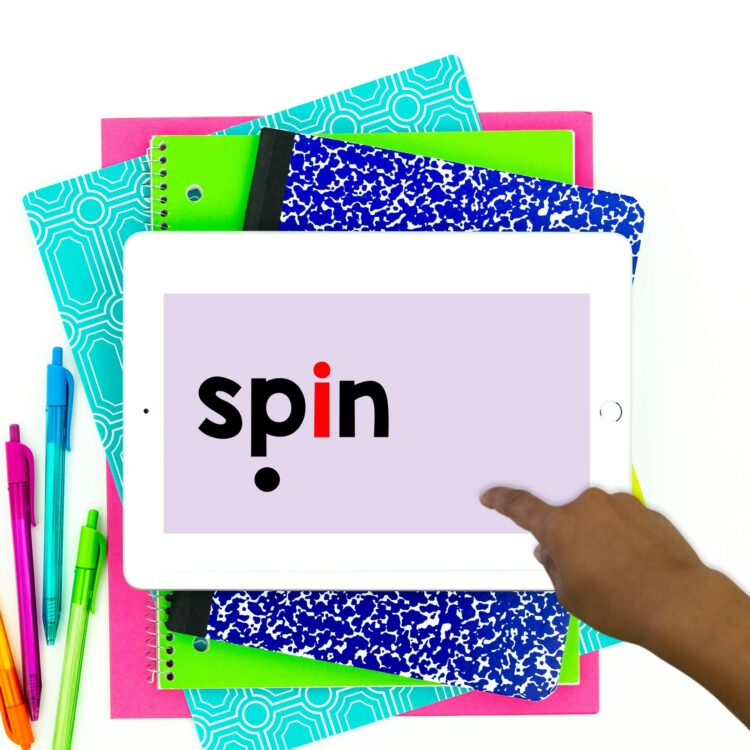
Successive Blending Slides are digital resources, often in Google Slides and Powerpoint, that walk students through the steps of successive blending. They typically include a picture tool to help students “check their work” or receive feedback. Successive blending slides are designed for independent practice for students working on successive blending in conjunction with systematic phonics instruction. Because they are designed for independent practice, they are great centers options for practice while you’re working with other students.
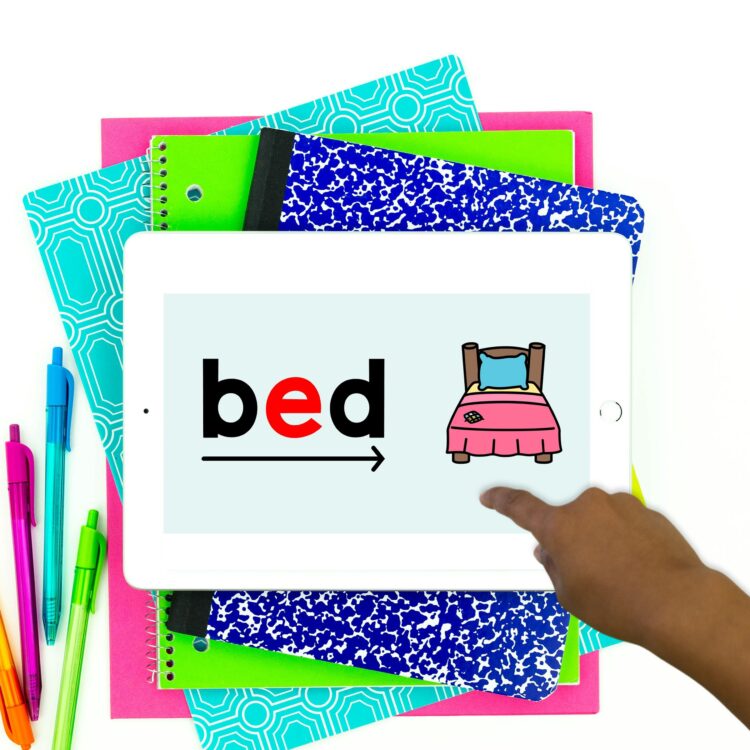
You can take a closer look at my CVC Successive Blending Slides by clicking on the link. They contain 600 slides! They are broken down into 15 word sets. There is a set for each of the short vowels, and then 3 mixed review sets. In my classroom, I assign a couple sets at a time through Google Classroom. Students work through several sets each time they have it as a center rotation.
Even though these Successive Blending Slides are designed for students’ independent practice, they can also be used during whole class instruction. When students are first being introduced to sounding out and blending CVC words, these slides provide great, whole class interactive practice as you manage each slide from the front of the class!
Students use this decoding strategy only to the point that they need to. Once they can independently blend a new word, there is no need to continue to blend as slowly and explicitly. Some students struggle with the segmenting and blending blends. Explicit phonemic awareness work with blends is important. My Blends Successive Blending Slides are a great tool to help students practice independently to support their instruction.
Once students are working beyond CVCC and CCVC words, they typically no longer need the scaffold of successive blending. Students are then ready to begin tapping/blending the sounds. With that said, some students really benefit from continued practice with successive blending, especially when being presented with new phonics skills.
You might also be interested in reading about other Phonemic Awareness Activities to incorporate within your instruction.