


The rock cycle is such a fun unit! Academic vocabulary is such a priority in this unit as students work to understand types of rocks and how they correlate with each other. One way I really help reinforce the vocabulary with our lessons is by using food to demonstrate the stages of the rock cycle. I love using food in the classroom because it’s a great way to get students engaged, and it gives them something to connect with their new learning. These 3 rock cycle activities are present in my 3rd grade class year after year!
I like to start our rock cycle unit with a video. While we focus on one specific type of rock per lesson, I find a video helps walk students through the cycle and how each rock connects to others. I like this video from Peekaboo Kidz.
1. Igneous Rocks
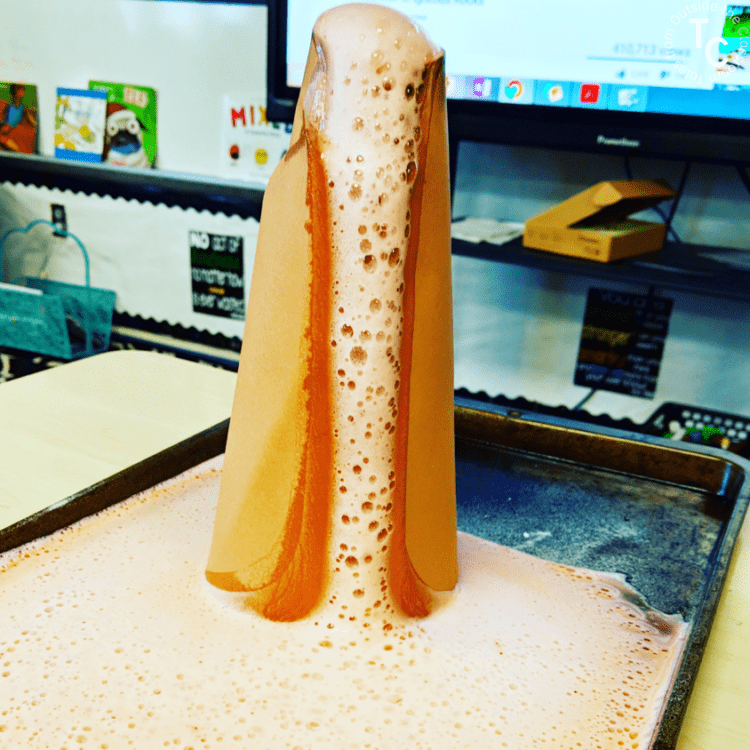
The first type of rock we study is igneous rocks. I reinforce that igneous rocks are formed from cooled lava and connect to students’ background knowledge on volcanoes. I also like to demonstrate a volcanic eruption using some red food coloring, baking soda, vinegar, and an old coffee creamer bottle wrapped with brown construction paper.
Now’s the even better part- modeling igneous rocks with food!
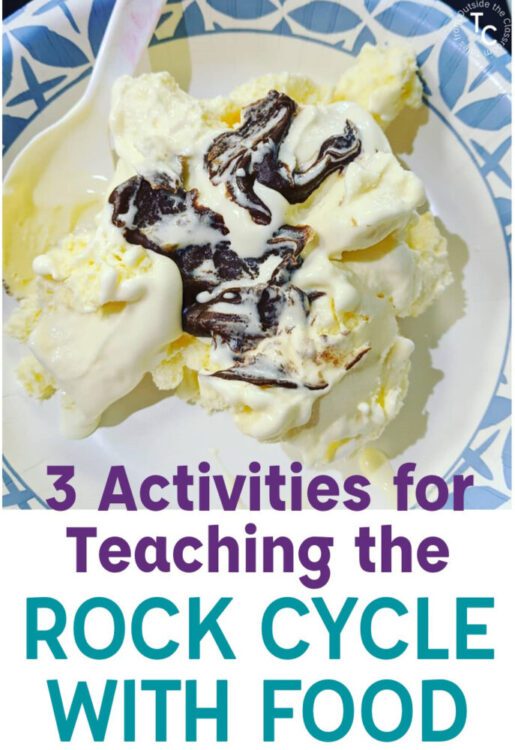
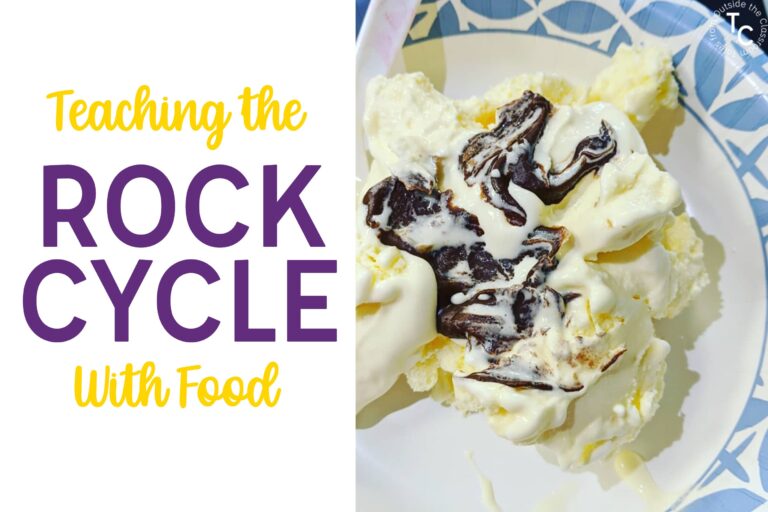
I give each student a bowl of vanilla ice cream as their “earth”. I use Magic Shell to pour some “lava” on each student’s “earth”. Students have to wait to touch their lava until it cools since igneous rocks are formed after time. After the last student has their topping, and we’ve waited a minute or so longer, I tell students to use their spoon to tap on their lava.
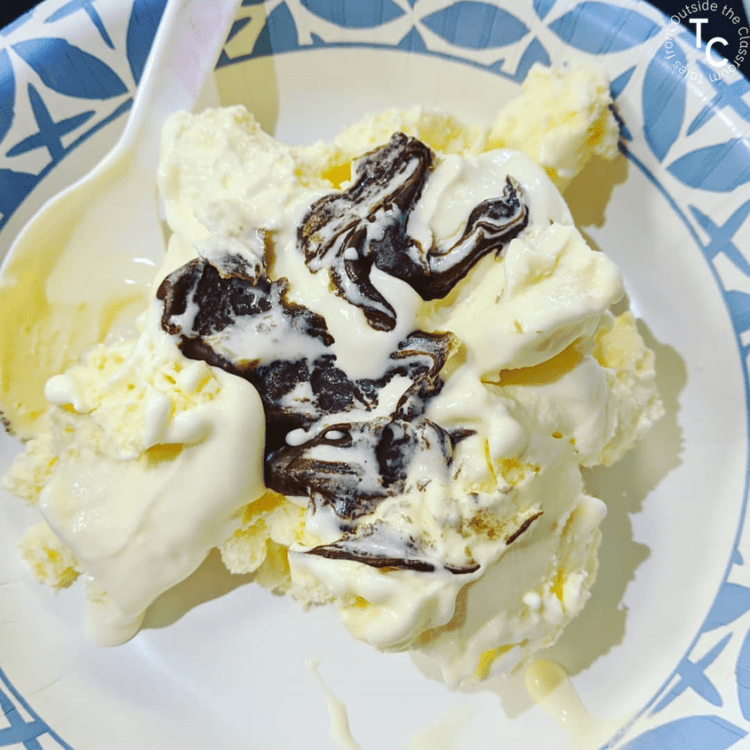
Students are so surprised that what they thought was chocolate syrup has actually hardened in just a minute or two! While many students are familiar with “dip” on cones, they aren’t as familiar with it coming in bottle forms so it tends to be a great surprise with the kids each year!
2. Sedimentary Rocks
Sedimentary rocks are formed over time, with heat and pressure, and result in rocks forming with layers. Rice Krispie treats are a great way to create “sedimentary rocks”. I bring my Crock Pot in, add layers of butter, marshmallows, and Rice Krispies, and we let it sit. Detailed instructions are included in my Rock Cycle Food Activities handout. Pay close attention- they will burn quickly and really don’t need to be in the Crock Pot too long.
Once things are melted, I take it out and let it sit in a pan for more time. I also make another pan the night before at home and bring that out to start cutting as the newly formed ones cool.
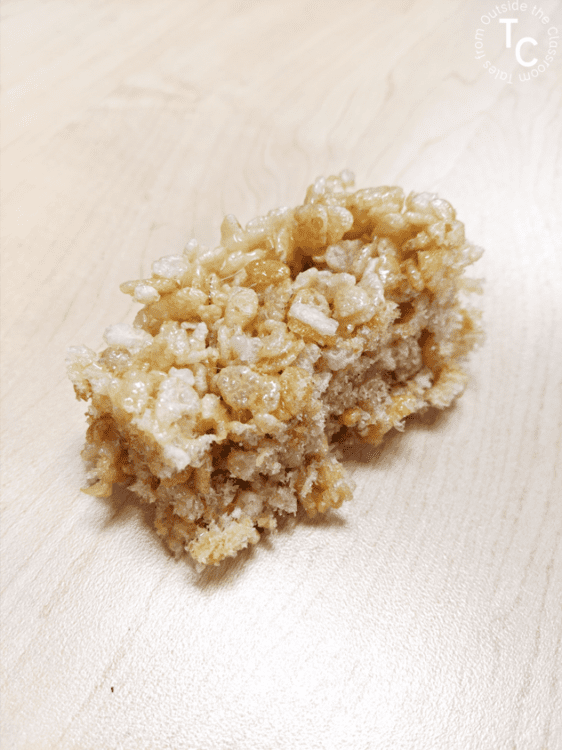
The Rice Krispies and their crumbs help reinforce the concept of sediments. And having to sit and wait to enjoy their rocks helps students remember time and heat are crucial in sedimentary rock formation.
3. Metamorphic Rocks
The last rocks we create, metamorphic rocks, connect with the others. During our metamorphic rocks lesson I talk about how metamorphic rocks are formed by other rocks changing over time due to heat and pressure. Of all of the rocks we create, this is often the most memorable for students. The secret?
the Teachers’ Lounge
Often, the teachers’ lounge has an oven or a toaster oven that can be used to create our metamorphic rocks- s’mores! Getting to spend a half hour in the lounge is so exciting for kids. It allows allows us to use the oven to melt our chocolate and marshmallows. While we’re waiting we talk about how the oven gives the time and heat we need, and that students create their rocks when they add pressure and add the top.
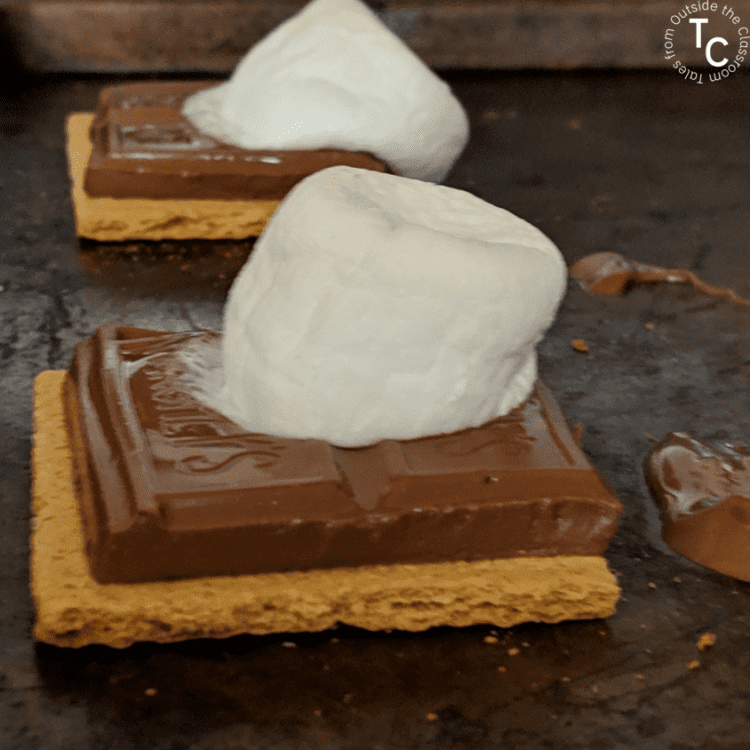
We connect the components to what we’ve already studied: the marshmallows and chocolate are similar to the ice cream and Magic Shell from our igneous rocks; and graham crackers represent sedimentary rocks with their crumbs.
You can download a handy shopping list and instructions for slow cooker Rice Krispie treats in my Rock Cycle Activities handout. Looking for other ideas for incorporating food in the classroom? You may be interested in my Introducing Multiplication, an Introduction to Division, and Testing Treats posts.