© 2024 Tales from Outside the Classroom ● All Rights Reserved
Guided Reading: Organization and Planning Tips
As a first and second grade teacher, my guided reading time is probably the most important and crucial time of my day. It’s where the magic happens: where students become readers. It also can be cumbersome and quickly dominate my planning time. I’ve had up to 6 different reading groups at a time with levels ranging from A to M in first grade! That’s a ton of levels to plan for, a ton of skills to cover, and a ton of books! Anything I can do to keep my groups running smoothly and to cut down on my prep work is GOLD in my world. I’ve developed a few strategies that have helped me stay on top of my guided reading planning and organization throughout the years and I hope a few of them can help you too!
TIP: STORE GUIDED READING BOOKS IN BASKETS
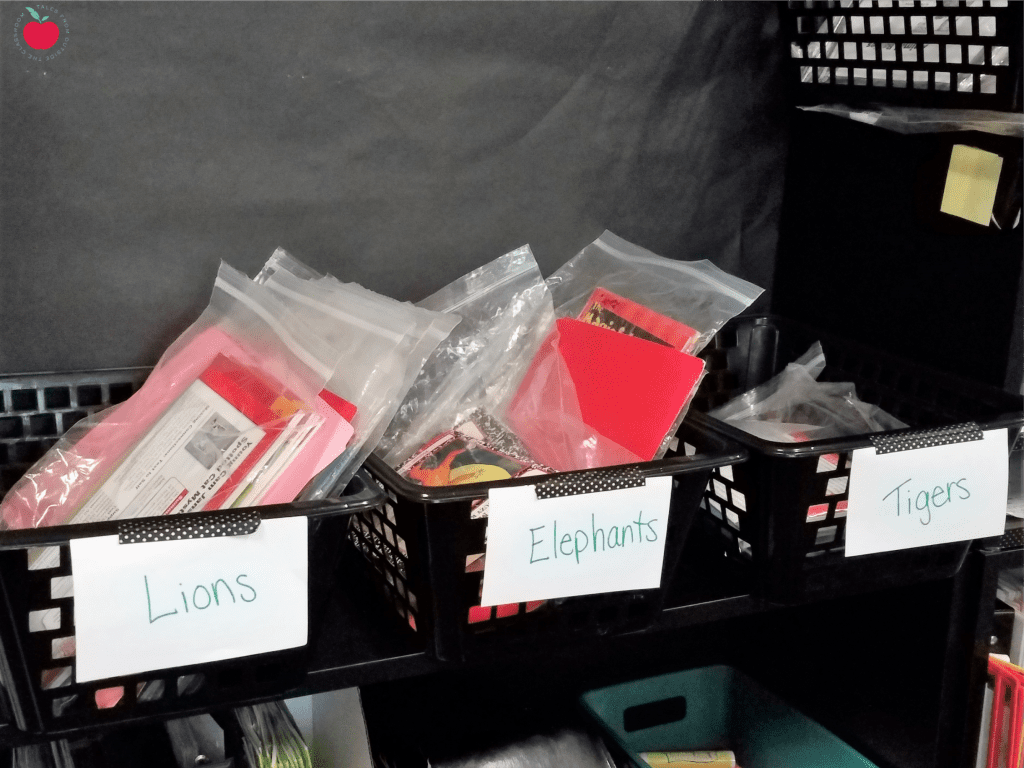
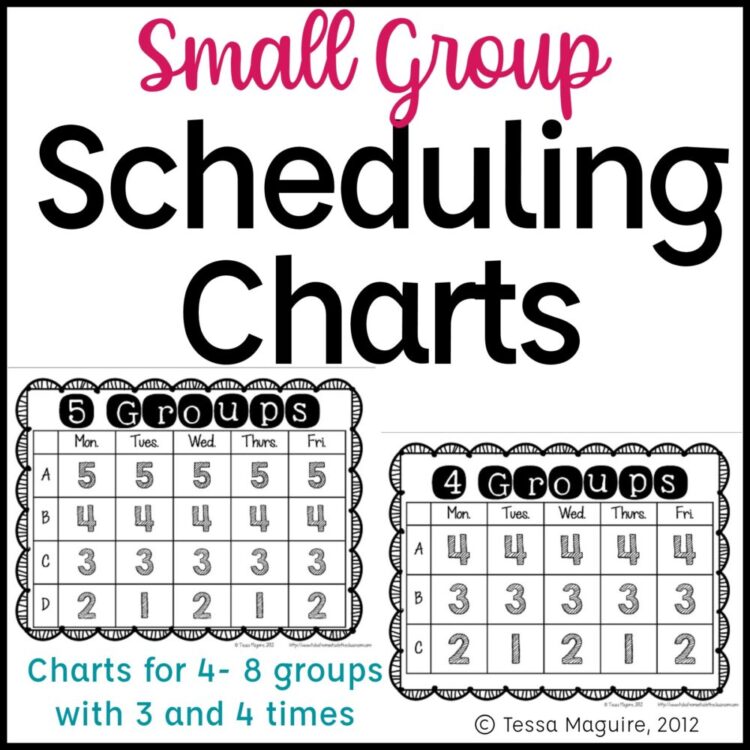
Each group has a labeled bin I keep on bookshelves behind my table. Some people like to use stacking drawers or something similar, but I store too many books at a time to do this, and I’ll explain more about why below. Each bin is labeled with a very high-tech and beautiful group sign (aka Sharpie on an index card with washi tape). I keep the bins in the order I see my groups- with one key difference. I don’t see every group every day. So, the two groups I see during the second rotation block, for example, would be next to each other on the shelf. So, in the picture above, I see the Lions in my first rotation every day, but I only see the Elephants on Monday and Wednesday, and the Tigers on Tuesday and Thursday, both in the second rotation. To help me figure out my rotation schedule, I use these handy charts I created several years ago. Each time I make a new number of groups based on student needs, I pull up one of these charts to help me sketch out my group sequence.
They were created with the thought process that the lowest students would be seen daily and the frequency of meeting would decrease as students’ levels increased.
Each group’s bin contains three different sections. I took a colored file folder and cut it in half to create dividers.
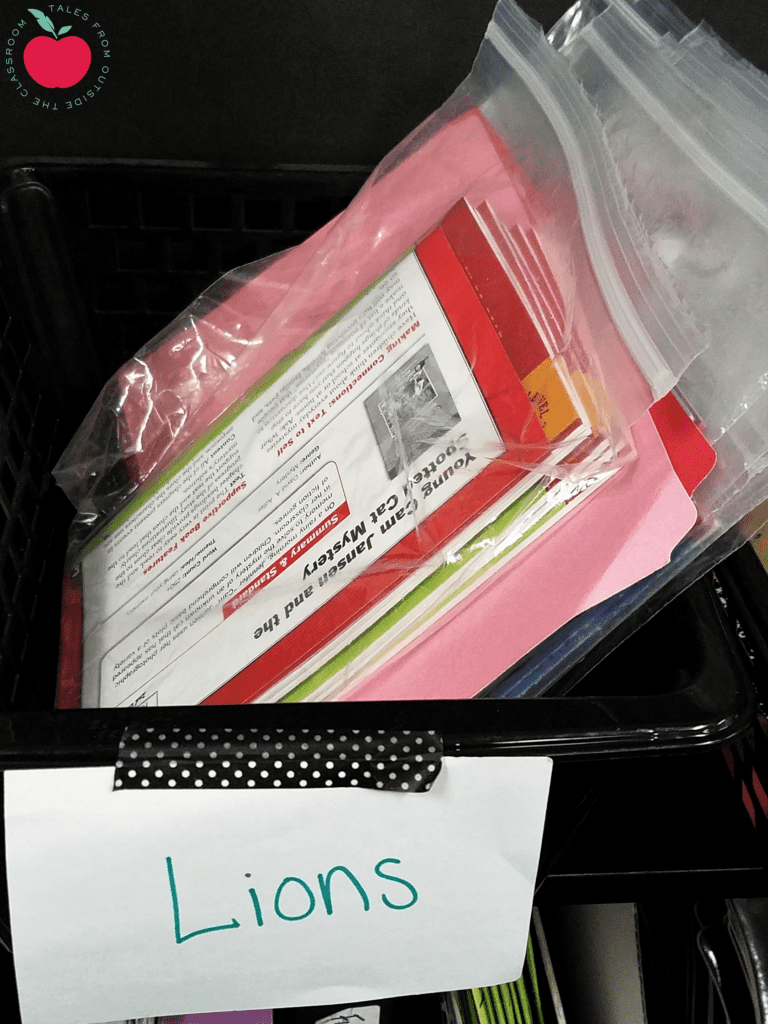
The front section are the books we will be working with in upcoming lessons. We have a large book room in our building (we’re so lucky) and the books are stored in bags in bins by guided reading level. I’m able to go in and check out books as I need them and keep them until I’m finished with them, which is quite some time as I’ll detail below.
TIP: CHECK OUT 4-5 BOOKS FOR A GROUP AT A TIME
I check out 4-5 books per group/level at one time. I’ll carve out the time to plan for each book at the same time so when they’re in the basket I know I’m ready to use them. This cuts down on trips to the book room and helps me specifically look for varying genres and text types or plan for specific skills. BUT, that does not mean I’m planning for 20-30 books at one time, or picking up books for every group at that time. I try to make it a trip for two groups of books; I usually am only picking up books for my lowest and/or highest group as they’re outliers, and I often have plans ready to go for several of those books. Keep reading to see how.
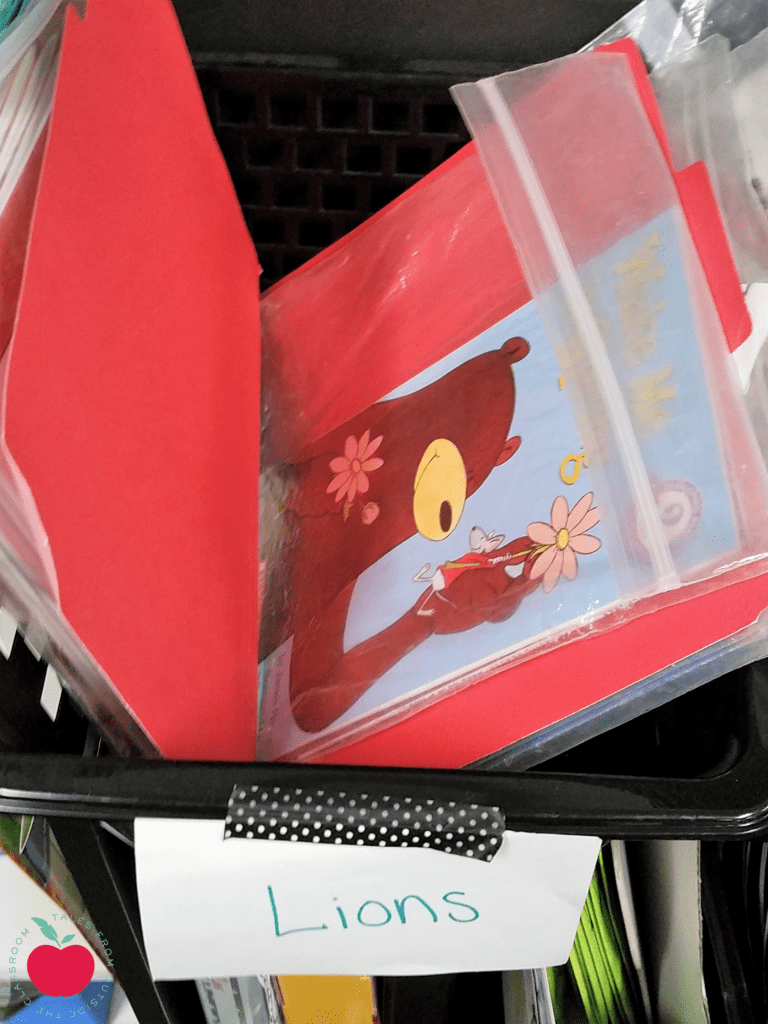
I believe in the power of warm reads, so I begin each of my guided reading groups with a 3-4 minute reread. As groups are rotating to me, I quickly grab the bag of books between the dividers and place them on the table. My students know to begin rereading as soon as they sit down. This also gives me a minute to check in with others, make sure they’re on task, and listen in to students. Students don’t always finish the book during this time, actually they often don’t, but they’re building fluency and applying what we worked on the day before (or the day before that if they’re not a daily group). When I direct that time is up, students place books on the ground underneath their seat so they’re ready to take to their book bins at the end of group time.
TIP: HAVE 4-5 BOOKS IN BOOK BINS FROM GUIDED READING
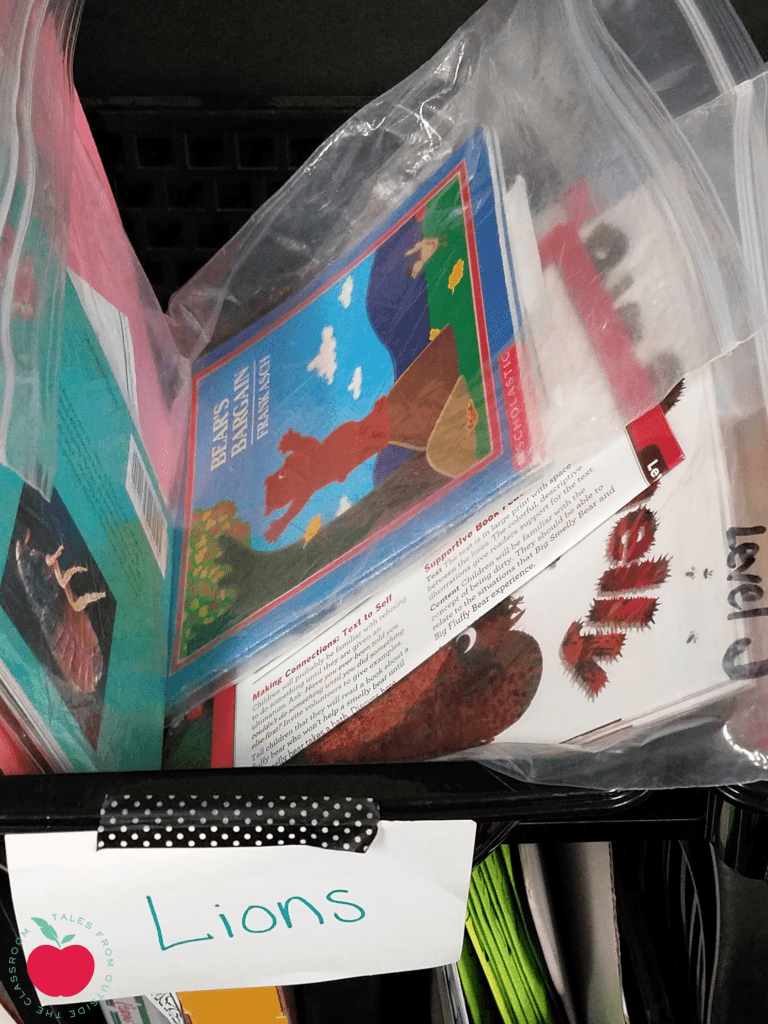
The third section in my guided reading baskets are books that are in students’ book bins. At the end of each group, students pick up the reread book (explained above) and add it to their book bins. Once students have 4-5 books in their bins, I will have them bring me the oldest book back at the same time on a pretty much daily basis. So I put the book bag in the back of the basket as students are rereading their books, and then I grab out the bag in the front of this section at the same time. At the end of the group, I’ll tell them which book to bring back during the other centers’ clean up time.
While, not exactly an organizational tip, it’s important for me to make sure students have access to a variety of good fit books in their book bins so I do that by giving them books from our guided reading time to keep with them for another week or so. Students add their self-selected books from the school and classroom libraries to their book bins as well, so they have a variety of books to choose from during their silent reading time. This helps students independently apply the skills we’ve been working on, and build their fluency with familiar texts. Which brings me to my next tip….
TIP: REUSE BOOKS FROM GROUP TO GROUP WHEN POSSIBLE
This is probably the most crucial for me to keep up with my guided reading groups. When students bring their book back I add it to the “books to use” section of another group whenever possible. This was really easy to do in first grade as I had many groups the next level before or after each other, but I’ve also been able to do it with other grades. I’ll keep a book to reuse even if it’s a level or two away just to keep me from putting it back and taking it back out again, or forgetting about it and planning for a whole new book. I’m lucky in that my school’s book room is large and well-stocked that this isn’t a problem. I might have a book for several months at a time if it’s used for several different groups and then stored in their bins and then brought back to be used by the next group. But, this means I’m checking out fewer books so many are still available for others’ use.
TIP: KEEP LESSON PLANS ORGANIZED BY LEVEL
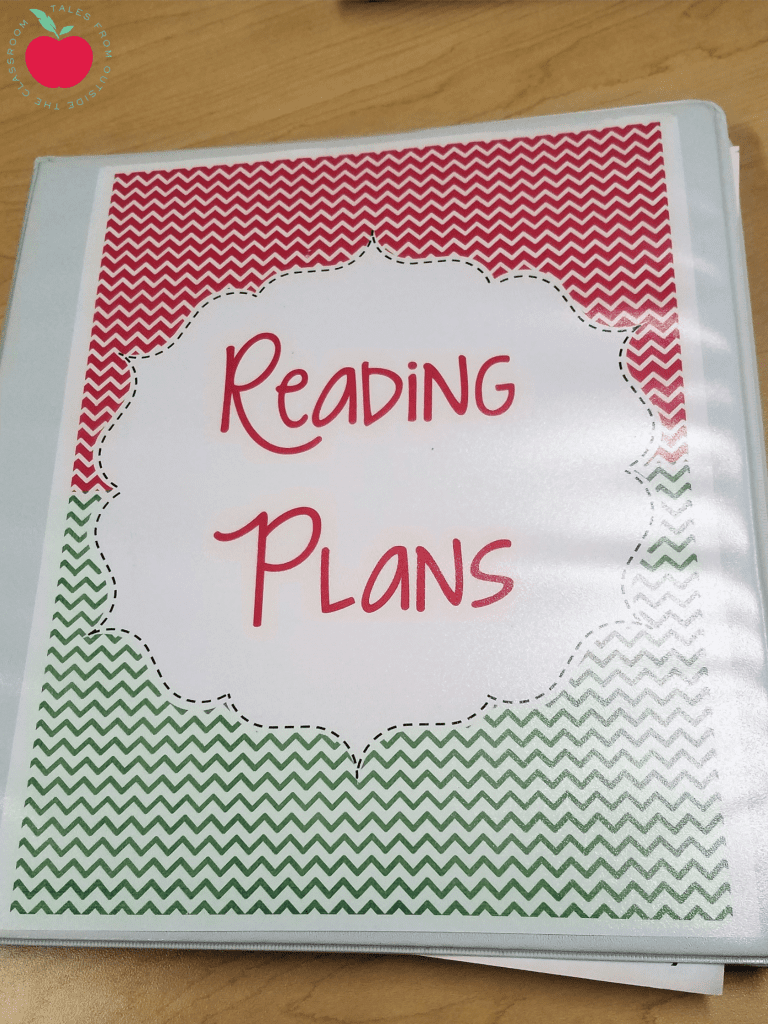
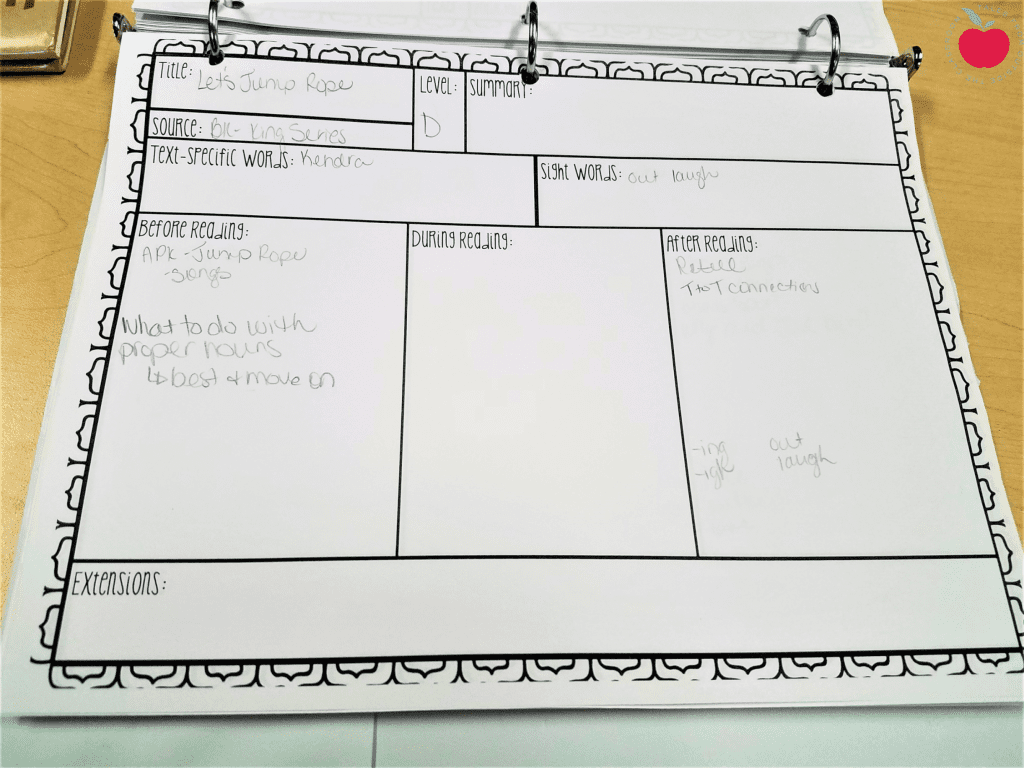
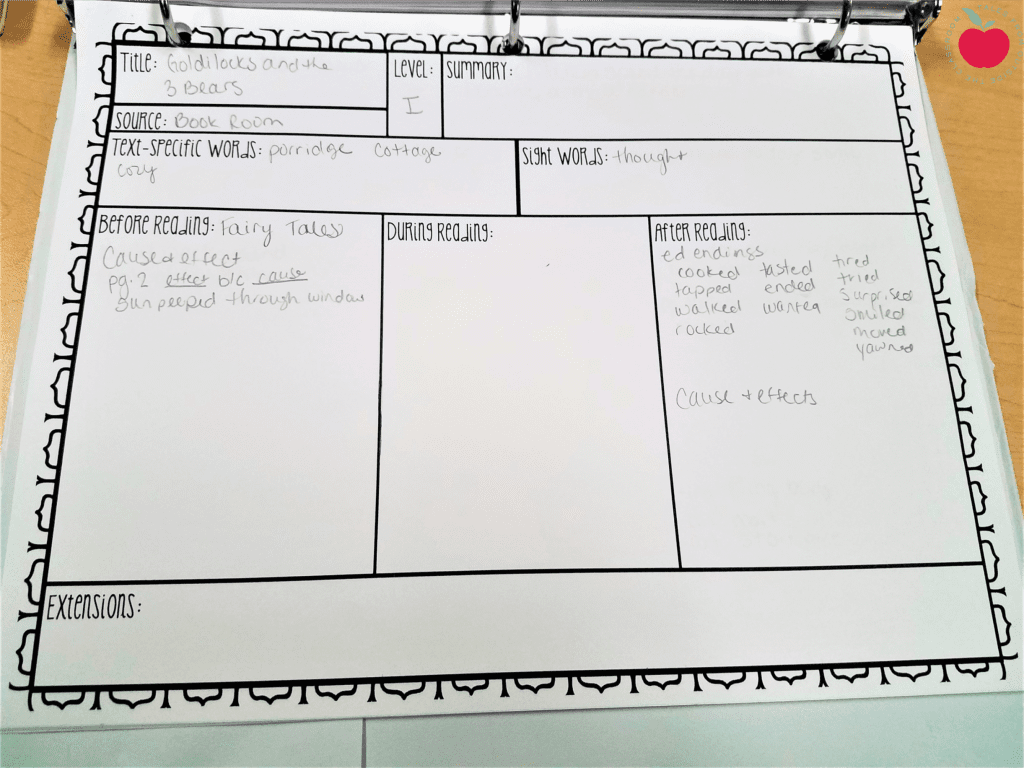
I create lesson plans that are text dependent, not group dependent, and store them in this binder organized by level. When I go to the book room to check out books, I usually bring this with me. This helps me check out books I’m already familiar with and have plans for. This cuts down on my planning time immensely as I’m not recreating the wheel every time I read a book with a group. I will be honest in that I don’t always do the most thorough plans but I know what comprehension pieces I want to hit before and after reading. I also use a binder clip to keep the levels that are too low for all of my groups together and out of the way. It may seem like that doesn’t take anything to do each time, but I’ve just found it easier to have that stack ready to be moved as soon as I open the binder (A-E, for example, are too low for all of my groups at the moment).
Here’s a plan I made for the book “Let’s Jump Rope”. With the lower level books, my focus is usually on before and after reading skills. Before reading we focus on activating our schemas with the text topic and then talk about a reading strategy that will help students’ become successful. After reading we focus on a comprehension skill (retell for the very low levels but more in depth skills as level increase) and often a comprehension strategy. We also usually spend a minute or two on word work from the text. I often highlight specific sight words that we can practice spelling or rimes that appear in the book.
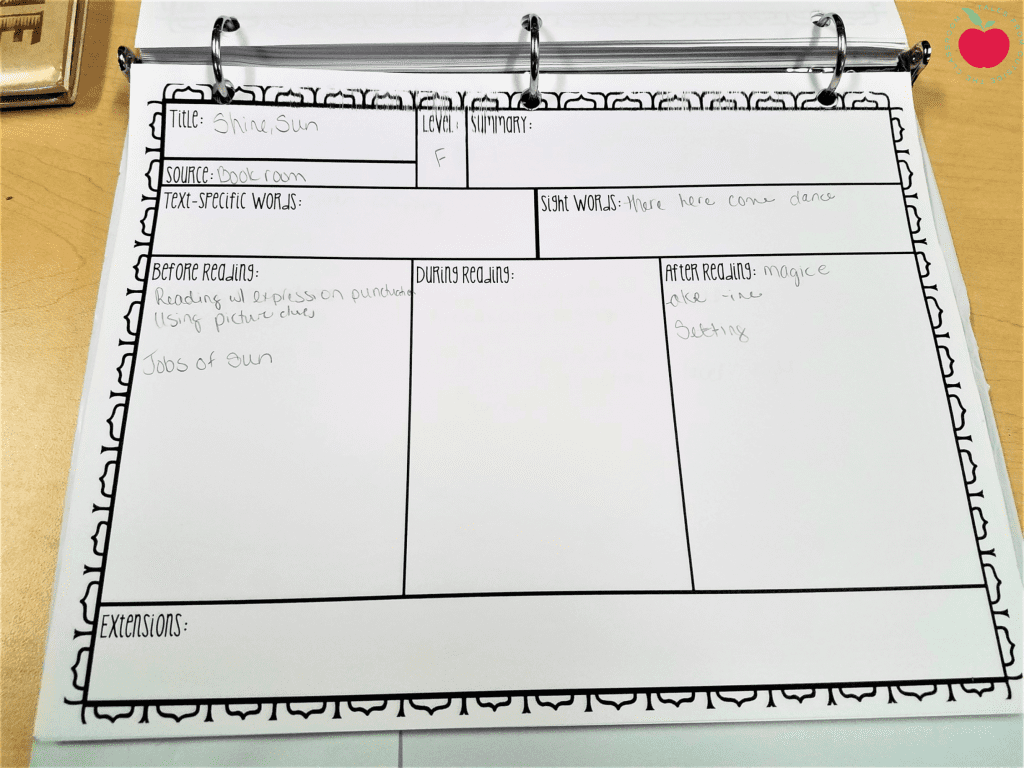
Here’s another look at a plan but this time it’s a level F. Reality is, I could have written so much more for the plan, but it’s a relatively simple and straightforward book and isn’t one that my students need a lot of guidance with.
As you may have noticed, I don’t have anything in the during reading category very often. Usually, my during reading skill is dependent on what we’re focusing on at that moment or with that specific group (For example a few of my groups are currently working on making connections and so they’re recording those connections on mini Post-its while reading) . These aren’t recorded here on the form since I’ll use this one lesson plan for many groups over many years. Once I know a book and have used it for a group or two, I’ll have a good idea of other during reading skills I can work on with that book. However, as students’ levels increase and we’re working for higher texts, I’ll often break the text into multiple days so I’ll record that plan in the during reading section.
I’ve changed this template slightly over the last couple years (and removed the extension portion that I never use). You can download it for free by clicking on the pictures above or clicking Guided Reading Lesson Plan Template.
TIP: KEEP A BINDER WITH GUIDED READING PLANS AND NOTES
As I finish, or find, the plan for the set of books I’ve chosen, I place them in my small group binder.
{side note: I used my Editable Binder Covers as the cover on both binders.}
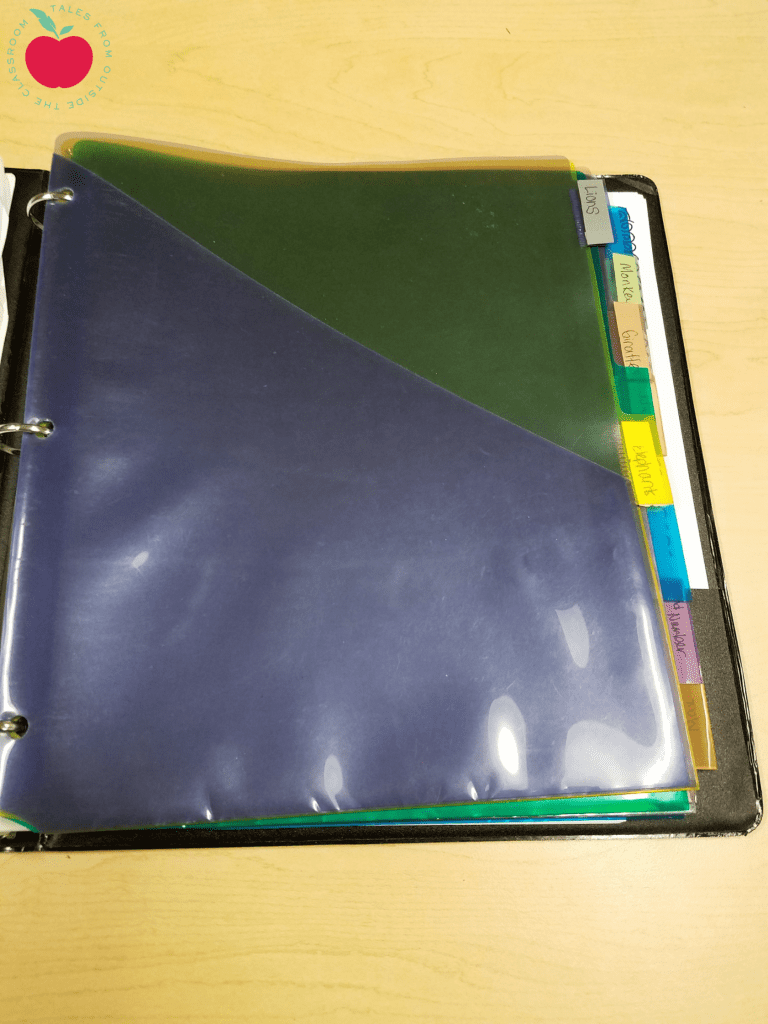
I use these pocketed dividers to separate my plans and notes for each group. I store the lesson plans I’ll need, in order, at the front of the pocket for that group. When I’m done with the plan, I’ll put it in the front section of the binder. About once a week or so, I go through and either put the plans back in the storage binder, or I place them in order in the pocket of the group I’ll use the book with next. I have the sections organized in the same order as the baskets to keep things easy. 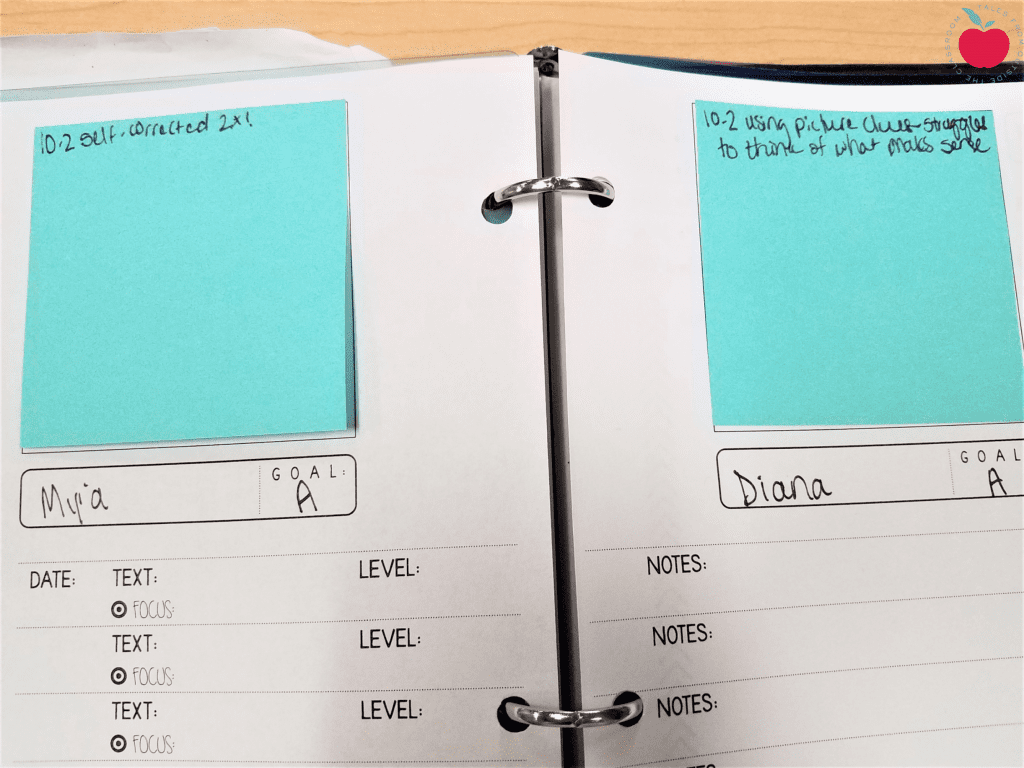
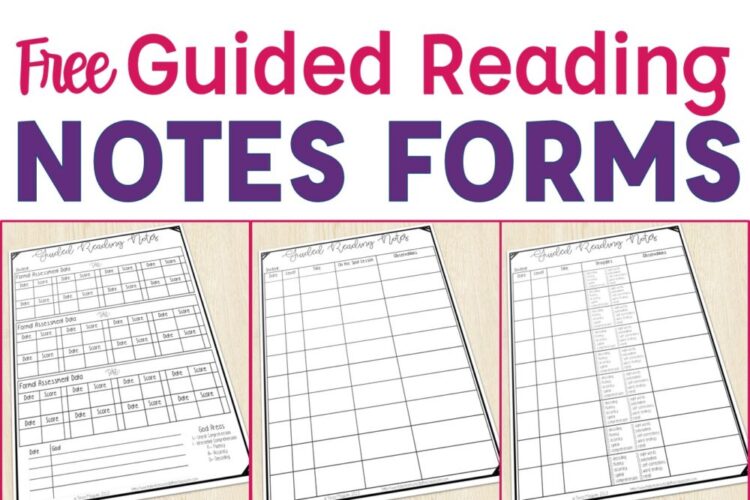
Inside each section of the binder are my notes. I have created anecdotal note forms as well as data forms that I keep in my binder. This helps me keep track of what specific skills students are working on, and what I need to continue to support. My notes from here often help drive my quick minilessons I do before reading. Through these notes I’ve identified I need to do more work on breaking down multi-syllable words, for example. You can click the image below to see my Guided Reading Notes more closely and try them out for yourself.
I display my guided reading and centers rotations each day. To read more about that, click the image below.
I hope I’ve been able to share a few new tips with you to help you keep guided reading planning manageable. Do you have a tip that you’ve found that helps you be successful? If so, please share it in the comments below.
Newsletter Sign Up
Signup for my weekly-ish newsletter. I send out exclusive freebies, tips and strategies for your classroom, and more!
Please Read!
You have successfully joined our subscriber list. Please look in your e-mail and spam folder for Tales from Outside the Classroom. Often, the confirmation email gets overlooked and you're night signed up until you confirm!

Hi! I’m Tessa!
I’ve spent the last 15 years teaching in 1st, 2nd, and 3rd grades, and working beside elementary classrooms as an instructional coach and resource support. I’m passionate about math, literacy, and finding ways to make teachers’ days easier. I share from my experiences both in and out of the elementary classroom. Read more About Me.






2 Comments
This was super helpful! I used to feel like I had to do a meticulous plan for each book we read, but really, my A through H levels don’t need much “During” because I figure that out as the kids read. I also let go of the idea that lower level kids need super detailed plans. I also didn’t think of the idea to “reuse” books later. Duh! Thanks for all the tips!
Glad it was helpful for you! And yes, the “during” stage is so focused on what the kids actually need as they’re reading.