© 2024 Tales from Outside the Classroom ● All Rights Reserved
Monday Made It: DIY Share Chair
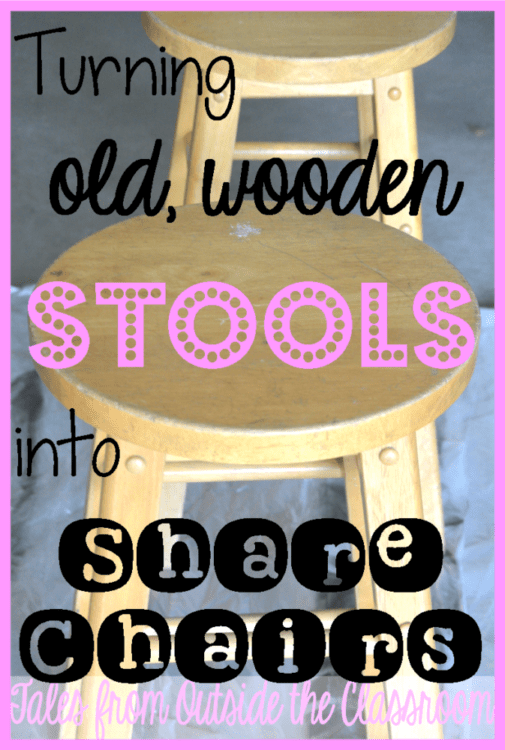
I’m linking up for my first ever Monday Made It. I’m not the crafty type. As much as I want to be, and I want to be successful, I just don’t have the crafty gene. Most of my stuff is worthy of being on Pinterest Fail. I try and I try and I try and I try. And it just never quite comes out the way it should. So I generally don’t care to share most of them with you. This one, however, turned out okay. Not amazing, but okay. However, it’s worth making it all the way until the end, because I certainly do have a Fail to share in my attempt at making share chairs for my classroom.
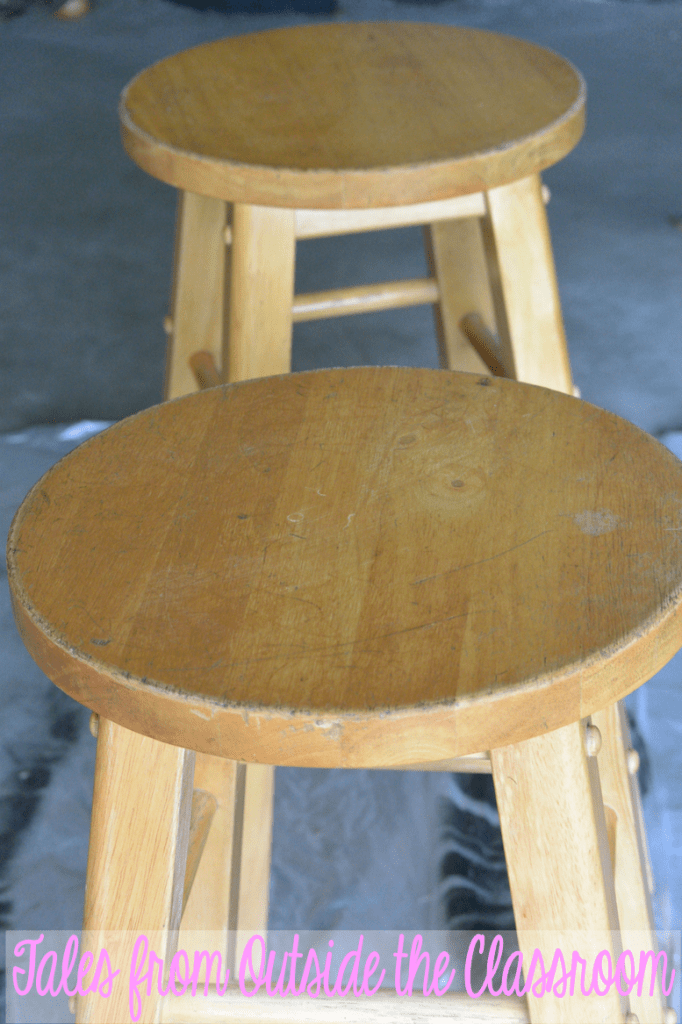
I bought these two wooden stools from my local Goodwill. They were $4 each, so I was super excited to get a great project for my classroom, and fill a void, for about $10.
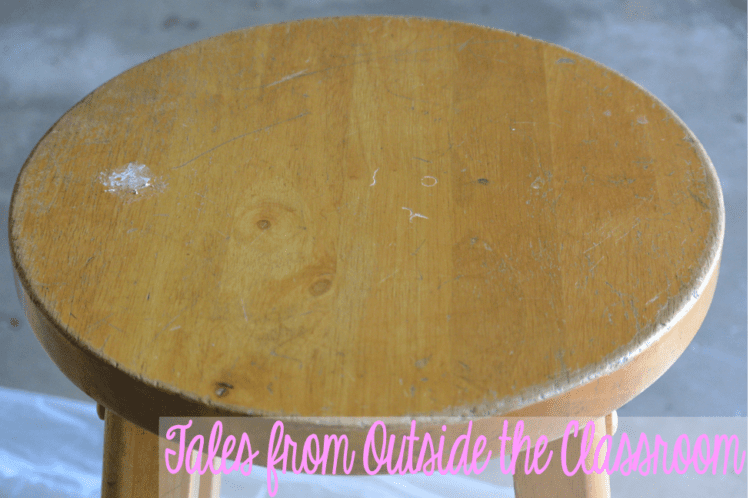
They weren’t in the best shape. Here you can see how scuffed the edges are. You can also see what a giant pain in the butt it was to try and remove the price sticker. Why? Why, must people put stickers on things where the stickers can’t be removed? Why?
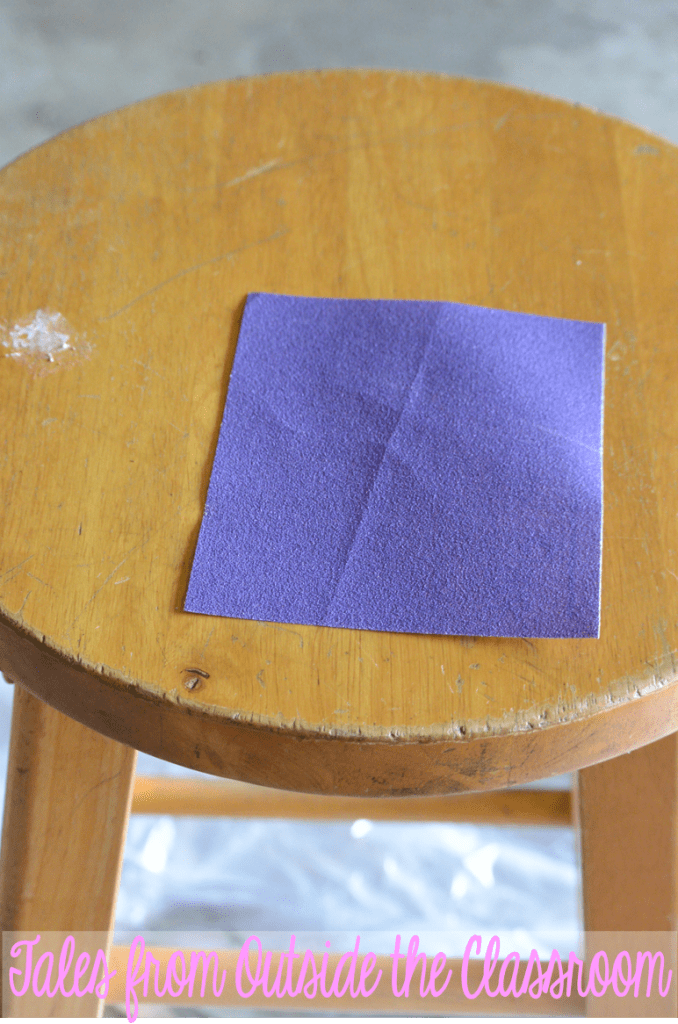
I used a piece of sandpaper to lightly sand off the top layer. I wanted to take off the remaining sheen and make sure the paint “stuck”. I was using super cheap paint that I just had leftover in the house.
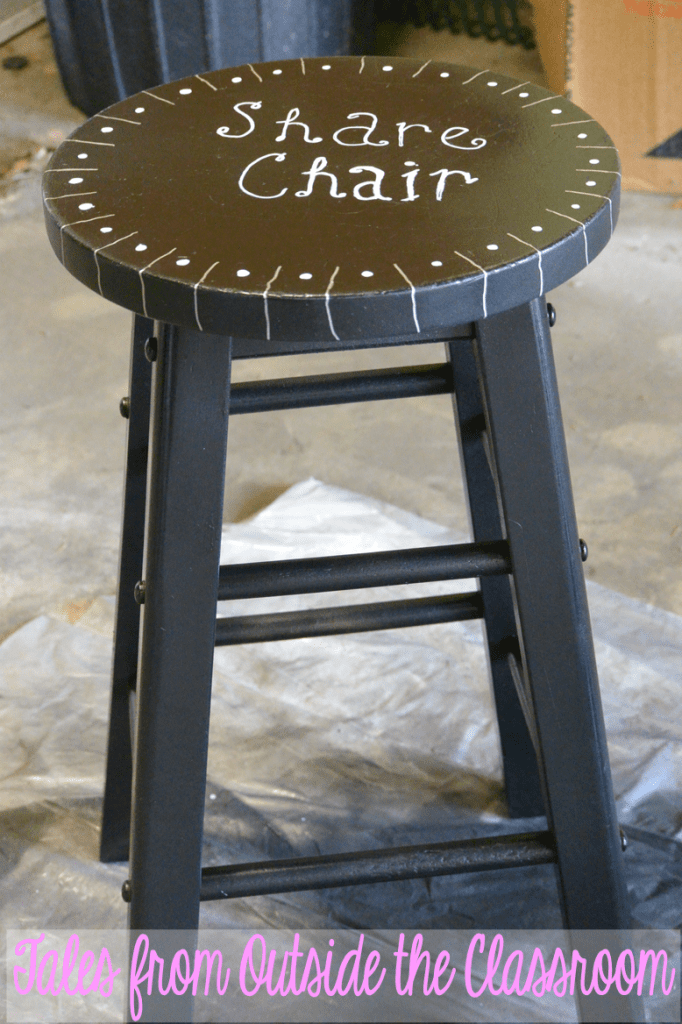
Here they are after I sanded them down. I put about three layers of black spray paint on them. After the second, I flipped them over to make sure I got it from every angle.
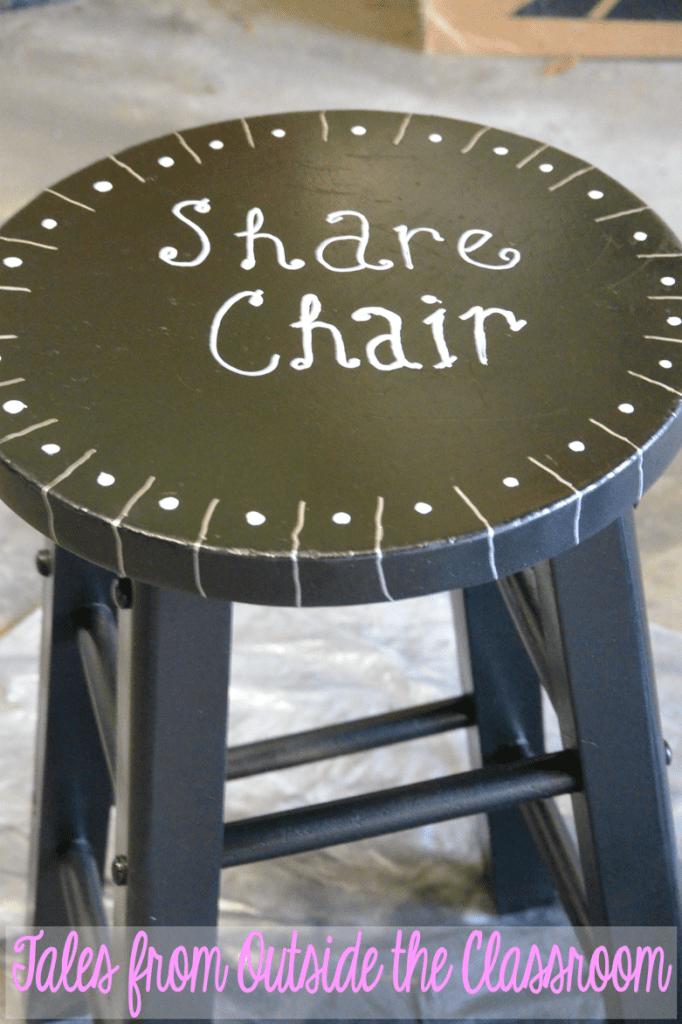
I used a couple of paint pens to decorate the top. Because my classroom is basically black and white, I just stuck with that. I wanted to add a bit of decoration so I made the lines in silver. I thought about designing the legs but my OCD would get in overdrive if each one didn’t match up. And, knowing my lack of skills, I knew I wouldn’t be so successful in keeping each one the same.
All in all, I’m happy with the way it turned out. I could have used other tools instead of just free handing the paint, but I sort of like the unperfect look.
Plus, after finishing the top on this one and moving onto the next one, I knew it was time to call it quits.
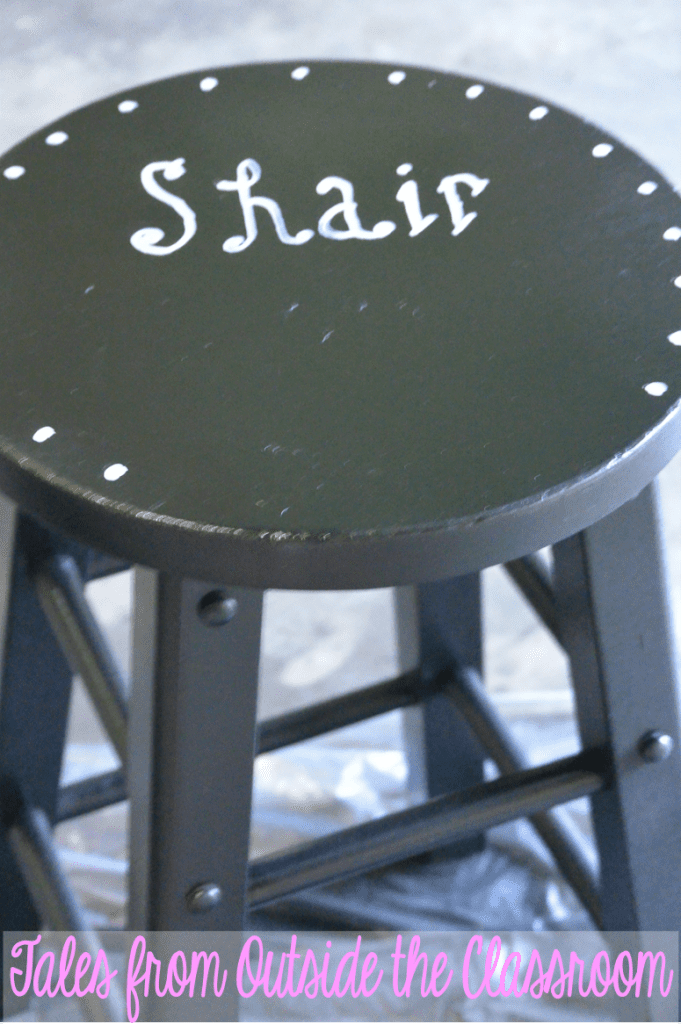
Apparently, I made it a couple letters in and then switched words. I mean, it wouldn’t be my project if it went smoothly.
Now to decide what to do to fix it. Should I try to write over the i and the r and change them to a r and an e? Or should I sand and repaint the top?
Newsletter Sign Up
Signup for my weekly-ish newsletter. I send out exclusive freebies, tips and strategies for your classroom, and more!
Please Read!
You have successfully joined our subscriber list. Please look in your e-mail and spam folder for Tales from Outside the Classroom. Often, the confirmation email gets overlooked and you're night signed up until you confirm!

Hi! I’m Tessa!
I’ve spent the last 15 years teaching in 1st, 2nd, and 3rd grades, and working beside elementary classrooms as an instructional coach and resource support. I’m passionate about math, literacy, and finding ways to make teachers’ days easier. I share from my experiences both in and out of the elementary classroom. Read more About Me.





16 Comments
Repaint the top. If you have OCD like me, you will never be happy because it won't look right no matter what you do:)
I love this idea!!! Now I'm going to be on the lookout for an old stool 🙂 And thank you for sharing your fail…it always makes me feel better to know that everyone is human and makes mistakes just like me!
I'm glad to know I'm not the only one that goofs up on my projects. ;P I love the way your stool turned out. I think I would repaint the top of the other one if it were me.
Kelly
I'm Not Your Grandpa, I'm Your Teacher
I had a craft-astrophe this week too! Yours seems to be reversible. I would paint the top again. Or what about mod-podging some scrapbook paper or washi tape?
-Maria
I like the idea of the Share Chair. I would've completely painted the wrong word too! You could probably just paint over the top and it would work!!
Alison
Rockin' and Lovin' Learnin'
I"m loving the share chair.
You are too funny! I would sand and re-paint 🙂
I have one of these stools in storage in my classroom….Thanks for a great revival idea!
Okay, seriously, I would leave it as Shair and add Chare. It would do two things – see if the kids were paying attention – and show that everyone makes mistakes, and it's okay to laugh at yourself. I'll bet you that every kid would want to sit in the shair chare:)
Ironically, I was out TODAY, looking for a chair to use for a SHARE CHAIR…..this gives me another idea. Thanks!
I wouldn't change a thing! What a great teachable moment! Spelling, vocabulary, multicultural differences in speech, languages, … Let's see what other concepts can you add?
Tessa, I love this idea! Your classroom is fabulous! I am getting lost in your blog:) Thanks for all the tips!
Thanks Emily!
I LOVE this idea, Tessa! And too funny about that last one. 🙂 #teacherproblems
Dana
I was SO mad at myself. Thankfully a little spray paint and an hour fixed it.