© 2024 Tales from Outside the Classroom ● All Rights Reserved
Properties of Shapes & Op Art

My first graders came to me with a lot of background knowledge on shapes and their properties. I was impressed with the amount of information they retained from kindergarten and from other learning experiences. Because we didn’t need to spend a ton of time on 2-D shapes it was the perfect opportunity to integrate art into our unit to help students continue to develop their understanding of shape properties and to demonstrate content mastery. Working at an arts integration school, it’s important that we not only integrate the arts into our units, but also teach about the style of art we’re working on and artists that could give us inspiration. I’m still relatively new at integrating the arts into our units, instead of just doing crafts and other random projects without a lot of intention, and have a long way to go to make the integration as authentic as it can and should be. In the meantime, though, students are learning about the arts, artists, as well as demonstrating their content knowledge through the arts as often and as meaningful as I can.
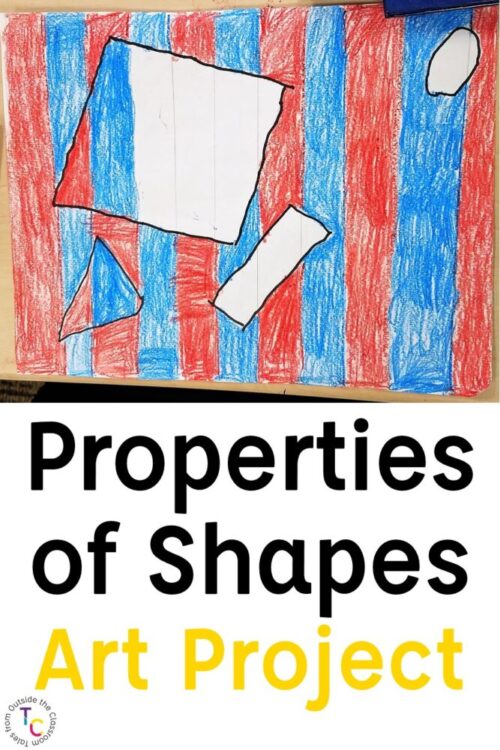
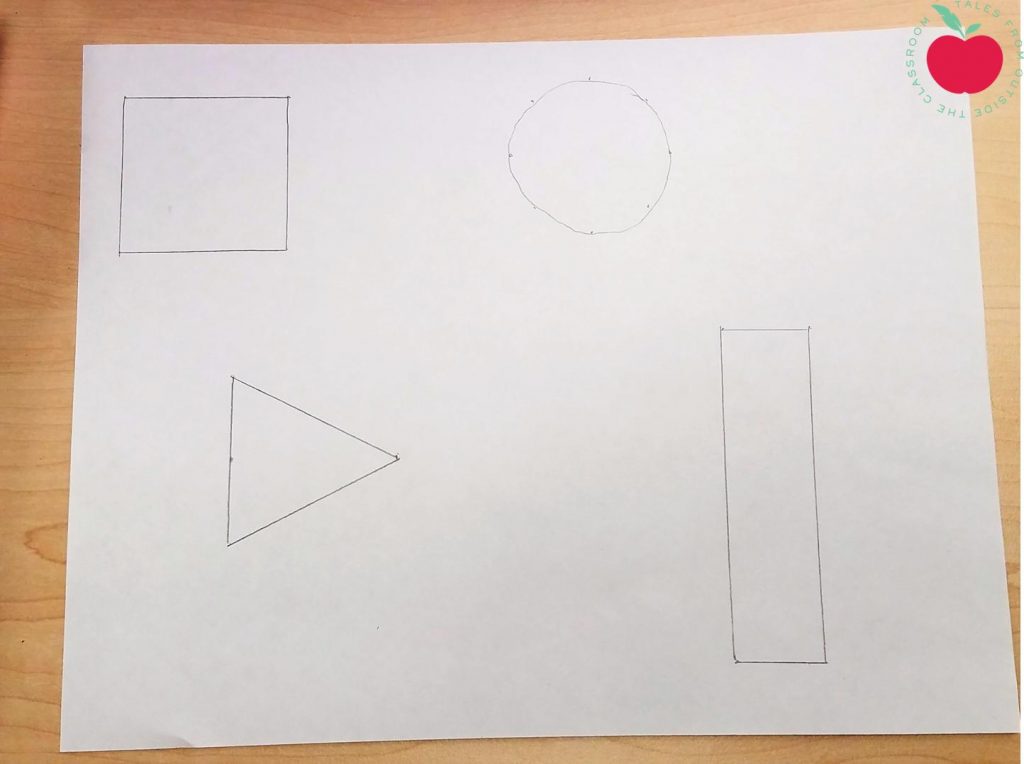
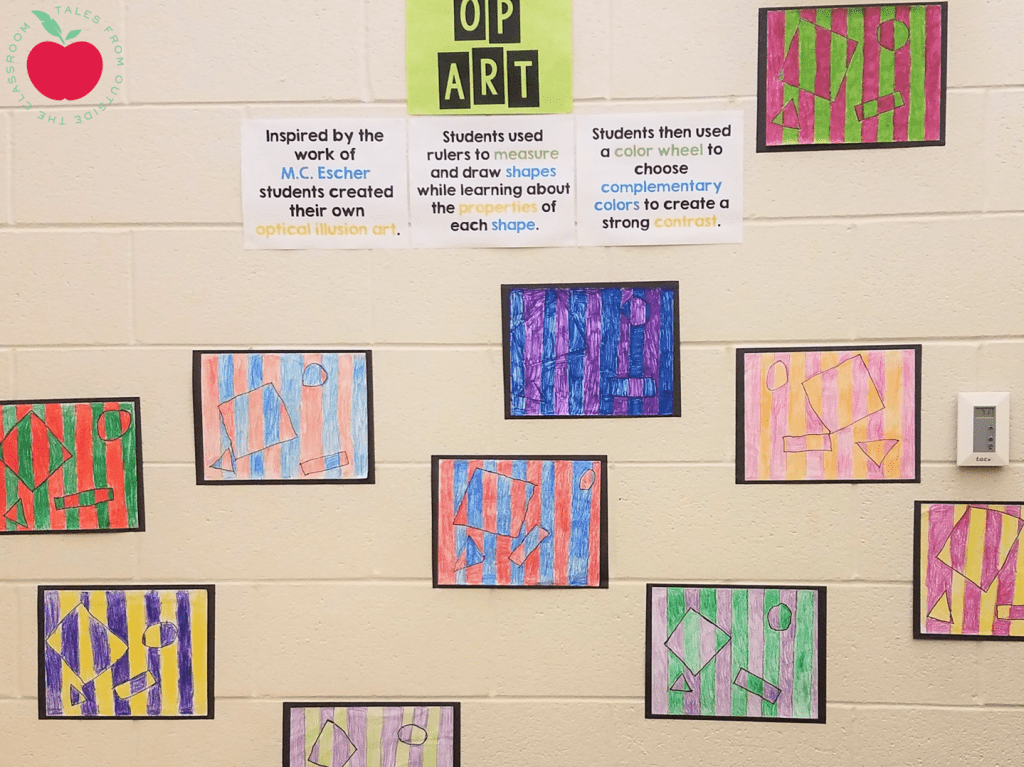
I began by introducing the work of M.C, Escher. The North Carolina Museum of Art has a great Escher slideshow that I used to have students explore and discuss his work. We spent a lot of time talking about the precision needed to create his art pieces and the symmetry that is used to create optical illusions. I also did a Google image search on Escher and showed students some of his most well known op art (optical art) pieces. While Escher is well known for tesselations, I thought this project would be a bit easier on my first graders, especially if completed in colors. I introduced students to the 6-inch ruler we’d be using to draw our shapes. I started by drawing a 3 inch line and then explaining to students that we were going to use it to draw a square then asking what size lines we’d need to use to finish the square. 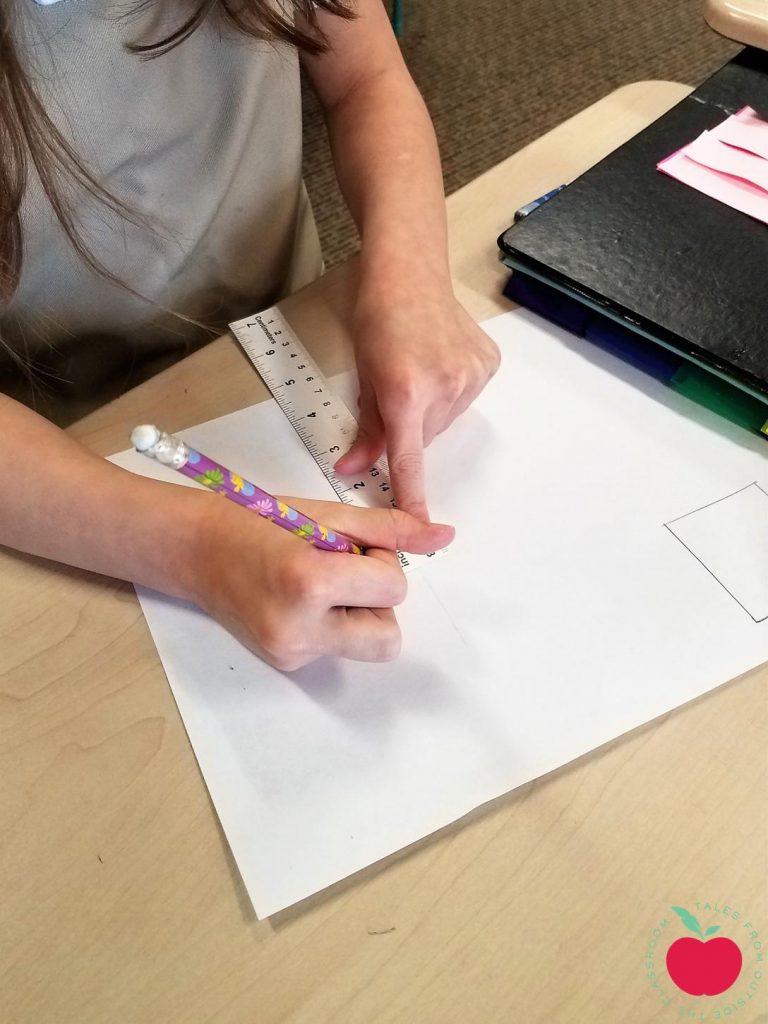 In order to create the optical illusion more clearly, I recommend not using vertical lines, but more slanted ones in order to create the intended visual effect. (Some of my pictures show vertical lines, but right as I started coloring, I realized my mistake, and we started over.) I then continued with a 1″x4″ rectangle and then a 2 inch triangle. Because students hadn’t ever used a ruler before (our standards in first grade do not include measuring with standard units) and had never used it to draw a shape with a specific length, this set of directions took longer and required more on the fly reteaching with students than I had initially anticipated. If you’re doing this project with firsties too, I’d recommend going slower and more sequentially than you might think at first.
 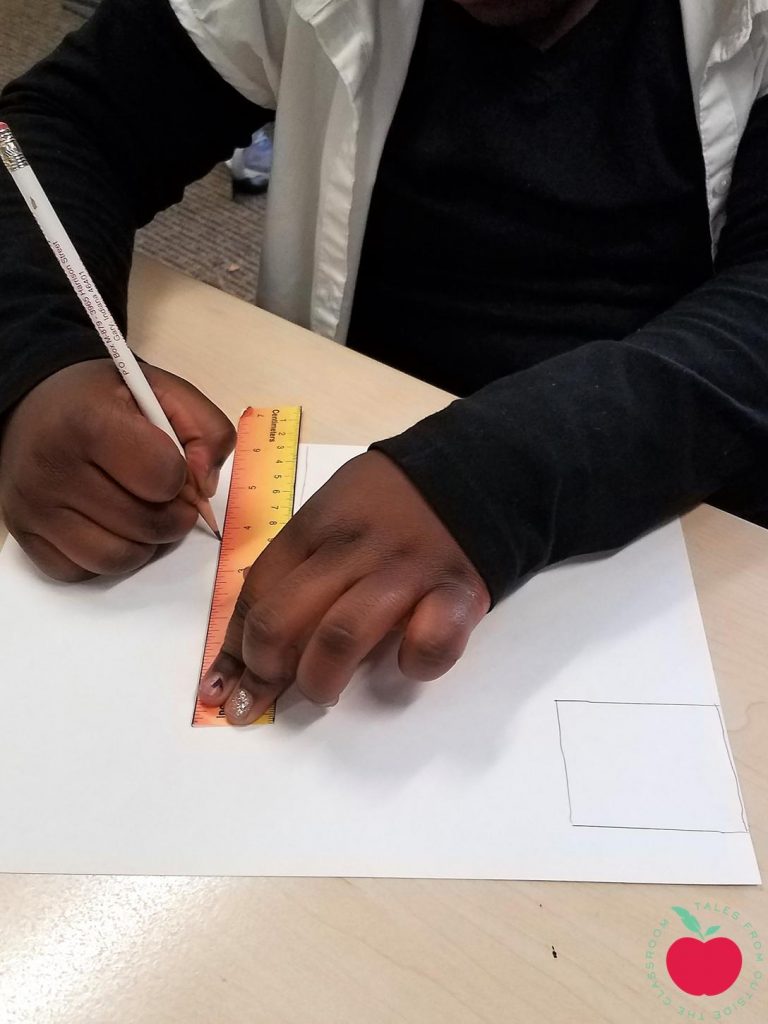 Creating the circle was a challenge, but it was a shape we had been covering so I wanted to use it in our project. So, we used our rulers to help. First, we made dots at 0, 1, and 2 inches. Then we made a perpendicular set of dots while keeping the 1 in the same location. We then talked about fractions as we spun our ruler around each quadrant to draw more dots, all while keeping the center dot on the 1. What resulted was a set of dots we could use to help us draw a circle.
 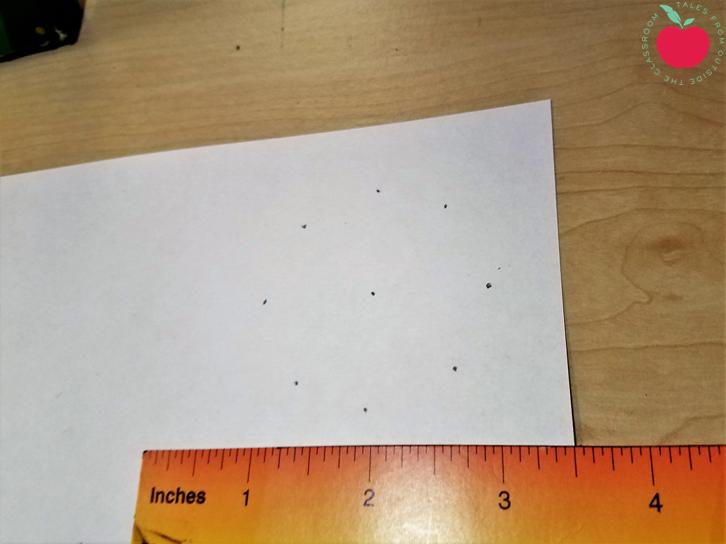 And then connect the dots!
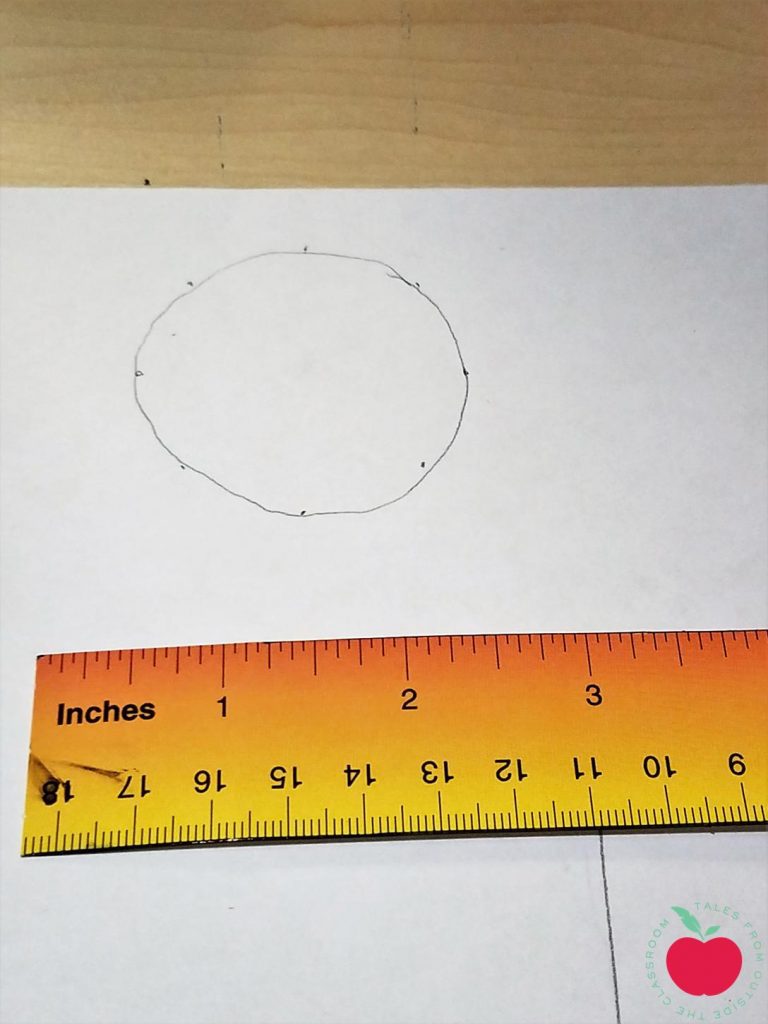 We used a square, circle, triangle, and rectangle as these were the focus of most of our shape discussions. However, you can use any shape you’d like. I even had a student recreate the project by tracing pattern blocks. There’s no wrong way.
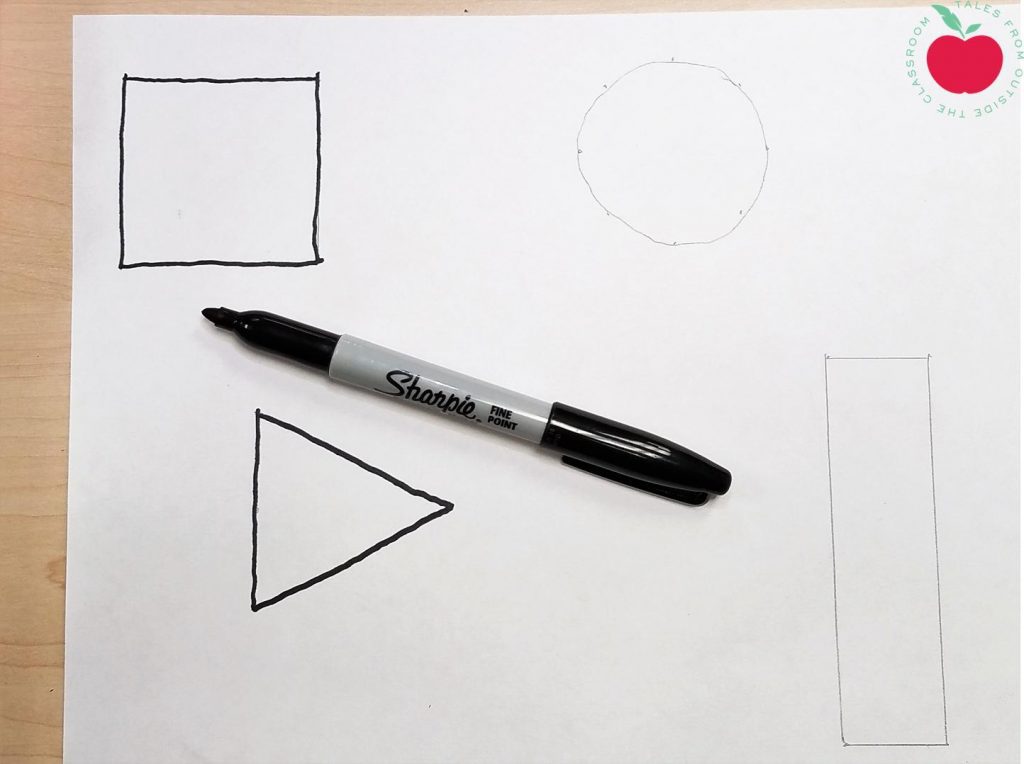
  Once the shapes were drawn lightly using pencils, we went over the lines using a black Sharpie Fine Point Marker. I wanted my students to clearly see the defined line between the inside and outside of the shapes, but in the future, I’d use a black Sharpie Ultra Fine Point Marker as I think that thinner black line would help the illusion stand out more.
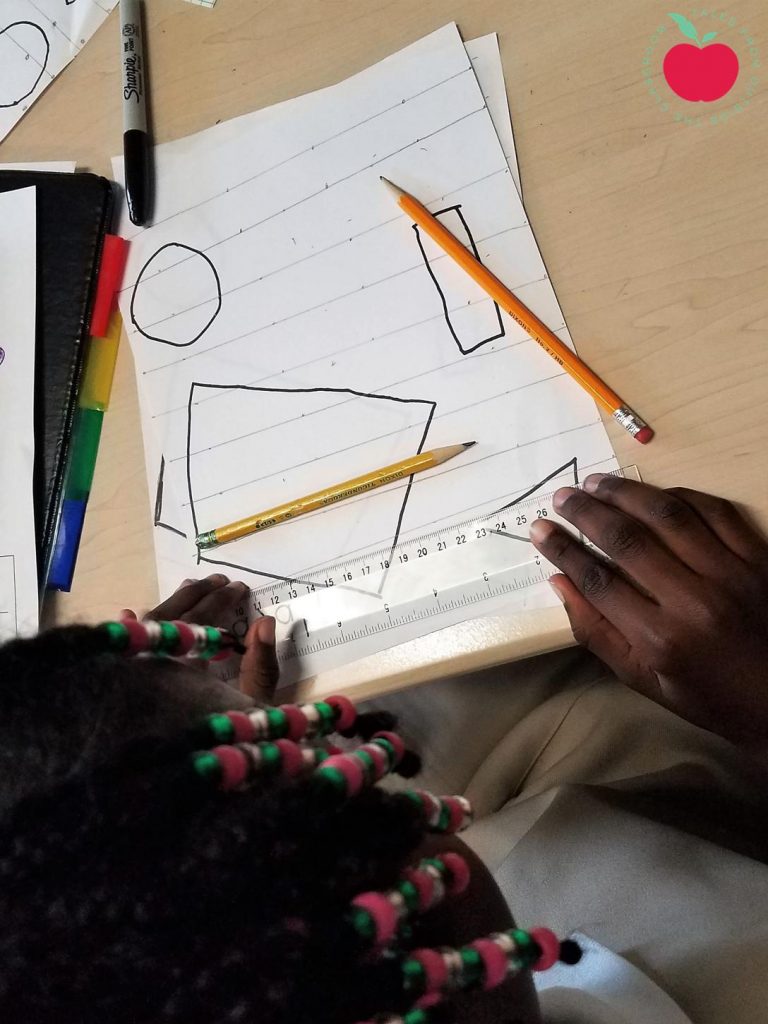
  The next step was to place the paper landscape and then measure out every inch using a 12-inch ruler. We placed very small and light dots towards the top of the page and then slid the ruler down to do it again near the bottom of the page. The students’ dots were not always lined up as precisely as possible, but that’s part of working with and using a ruler and older students would probably be more precise. Then, the page was turned portrait and students used the ruler to connect the dots and draw lines across the page. The two sets of dots helped students ensure that they were not only drawing lines, but lines that were straight and perpendicular to the page rather than slanted.
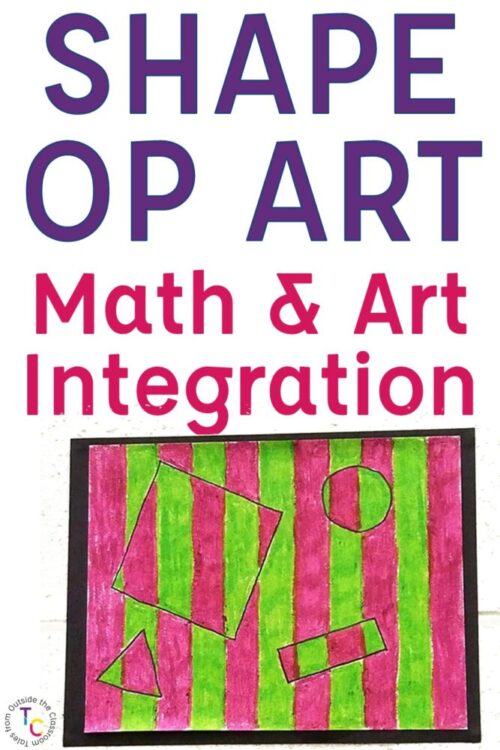
  Once our piece was drawn, it was time to add color! Even though M.C. Escher created most of his pieces just using black and white, color is needed to make this optical illusion (and makes it easier for students to complete). We discussed complementary colors and chose colors opposite each other on the color wheel. I found a color wheel online and displayed it for my kids as they chose their color. One of my kids did not understand this direction and used analogous colors, which resulted in a different feel in her piece. I used red violet and lime Mr. Sketch Gel Crayons.
 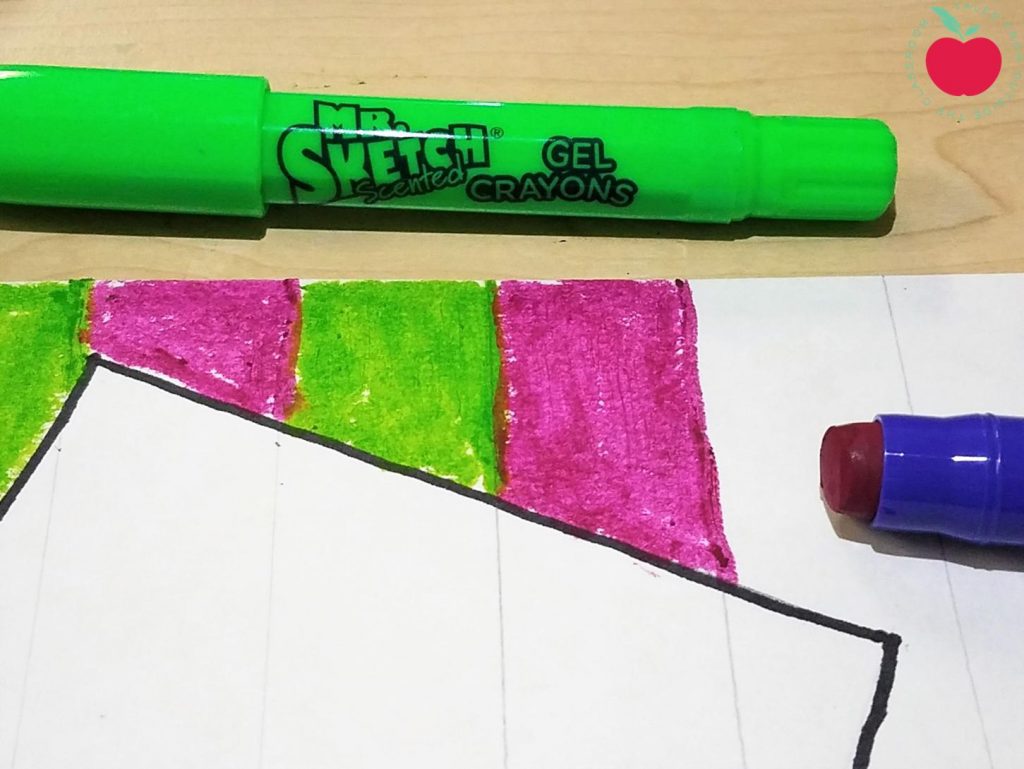 This was my first time working with the Mr. Sketch Gel Crayons, though the markers are my absolute favorite! I immediately fell in love! While the scent is not as strong as I’m used to with the marker, the smoothness of the color was awesome. They produce such a strong, rich color and glide across the paper. The Mr. Sketch Gel Crayons gave the visual look of waxy crayons, but it did not leave the paper feeling waxy or with a residue like waxy crayons often do. They’re large and round so they’re not great for coloring precisely, which means they probably were not the best choice for this particular art project, but the bright, rich colors outweighed that for me. With that said, the color didn’t match the tube as much as I would have liked, especially with the purple I chose. But, knowing that, and often not needing a very specific color, it won’t be an issue very often. To help students complete the needed color effect, I directed students to only color outside of the shapes at first. We again discussed precision and the need for working slowly and deliberately.
 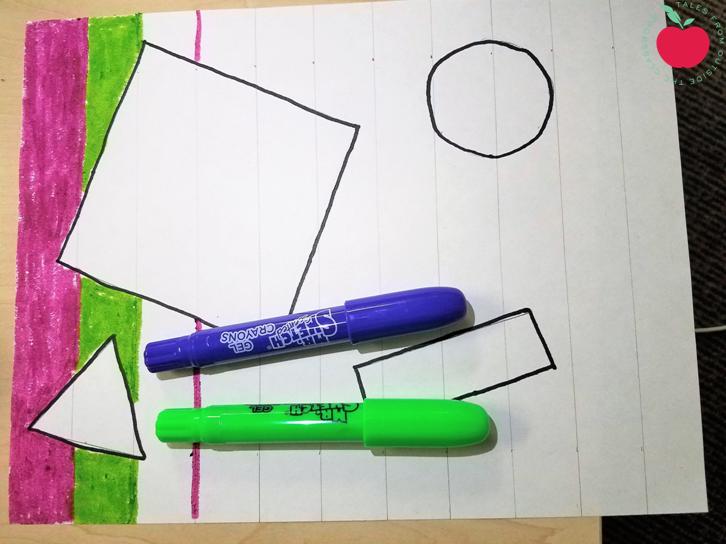 Once the background pattern is complete, the shapes really stand out!
 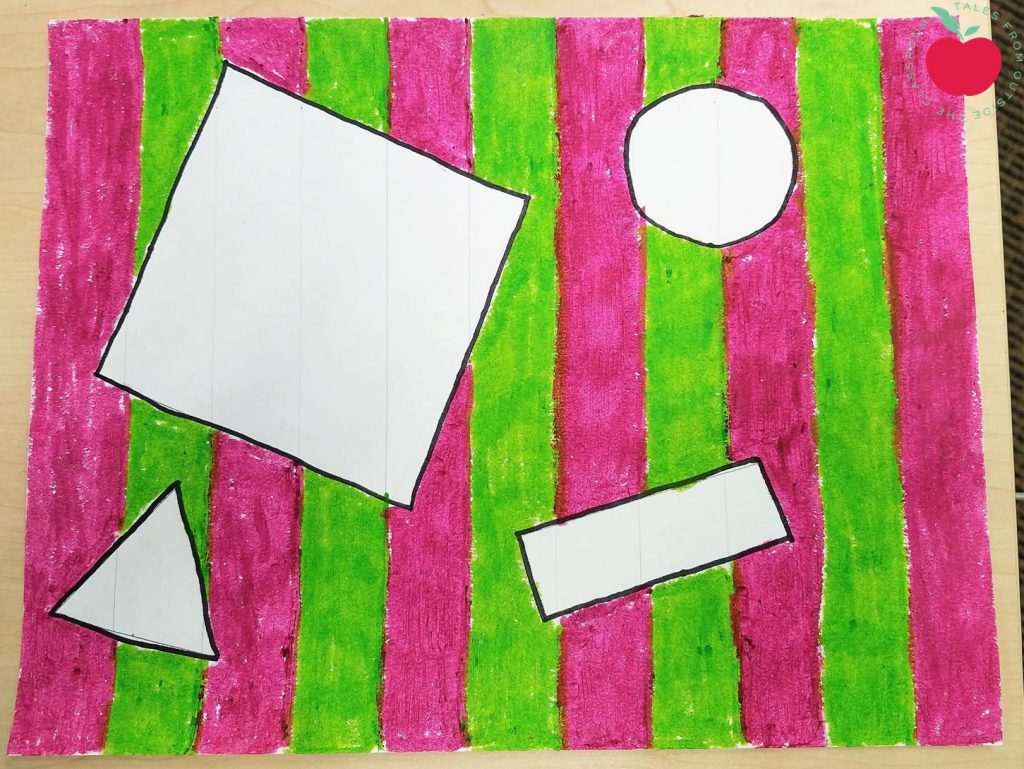 In order to make sure students really understood what they needed to do to invert the colors, I met with each student individually and demonstrated on their paper to guide them. I was really impressed with the focus and perseverance my students demonstrated as they colored.
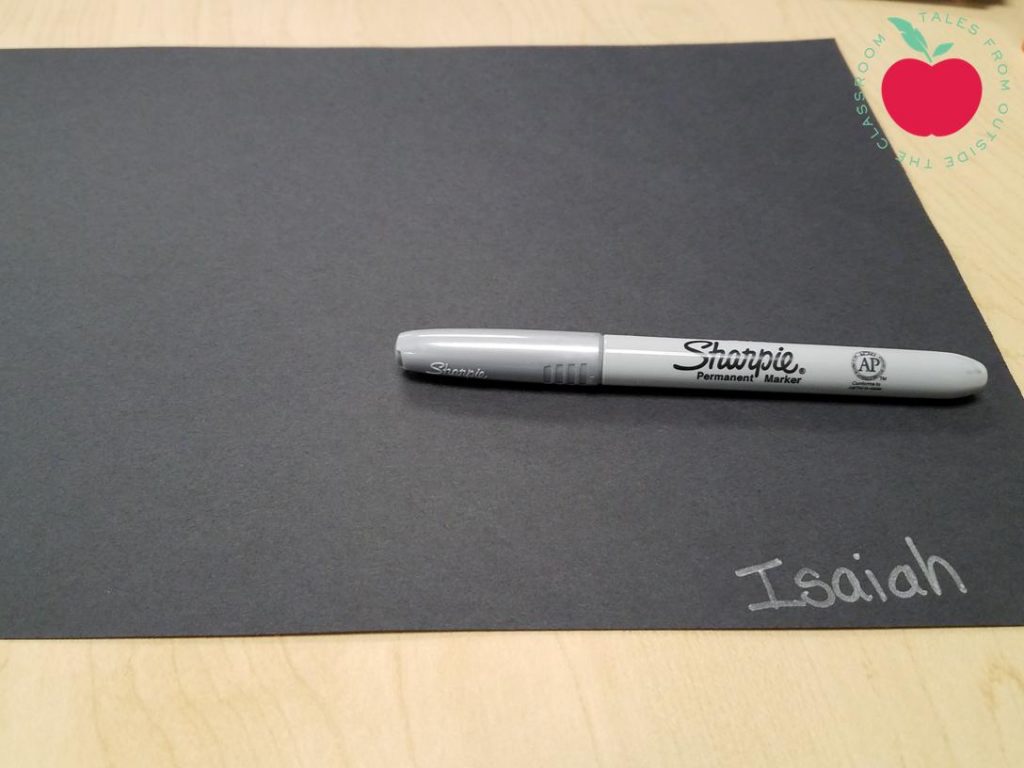
 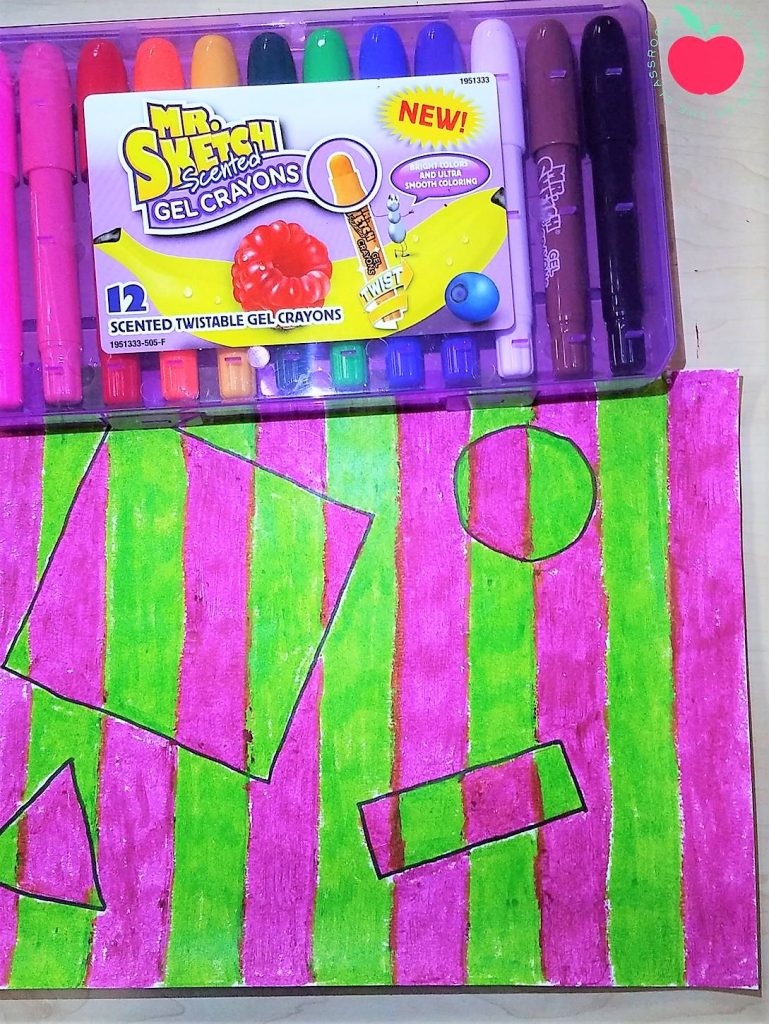 To display, I placed the final pieces onto black construction paper. The black background really helps the image stand out, especially since they weren’t placed onto a bulletin board, but rather a wall. I used a silver Sharpie Metallic Marker to write each student’s name on the back of the black construction paper. These are the only thing I’ve found that really stand out on the black.
  Did you know that makes repositionable glue? Well, they do! The Elmer’s Re-Stick glue stick is respositionable for 5 minutes so it’s perfect when you’re trying to place something and will maybe need to adjust it.
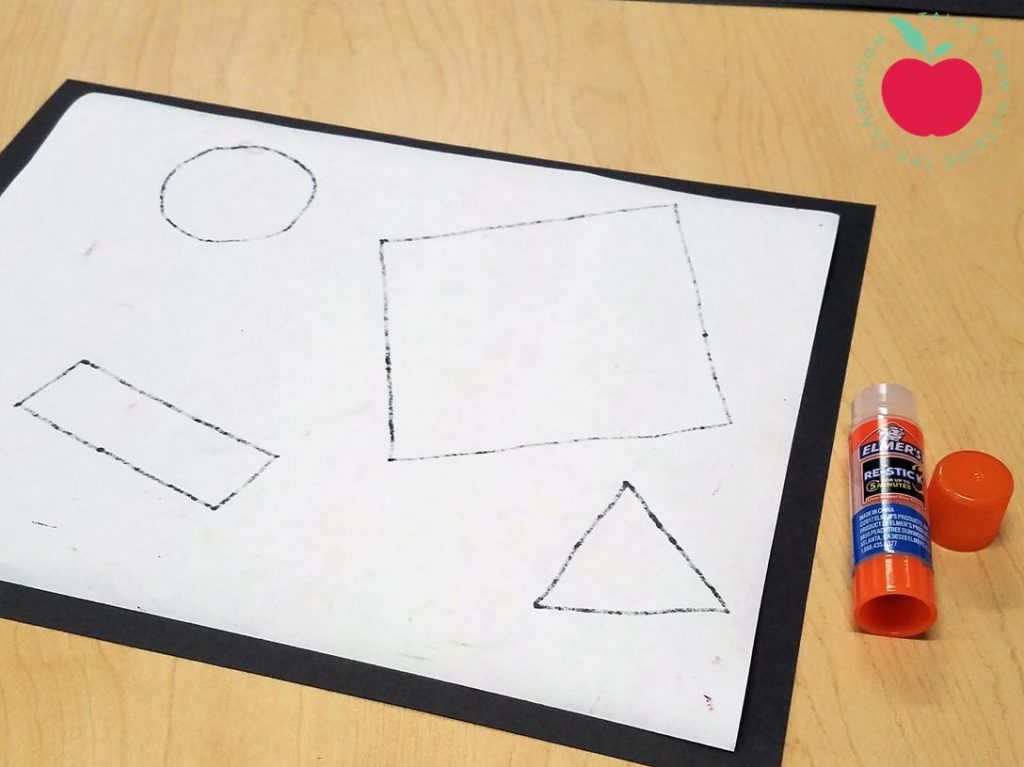 I did find that the paper didn’t stick as well as I’m used to, so I used extra glue. I wouldn’t recommend this particular glue on a project where the students are going to be using it often (in an interactive notebook for example) but for something that is glued once and done it’s great to have as an option. The optical illusion really stands out when the page is looked at on the side.
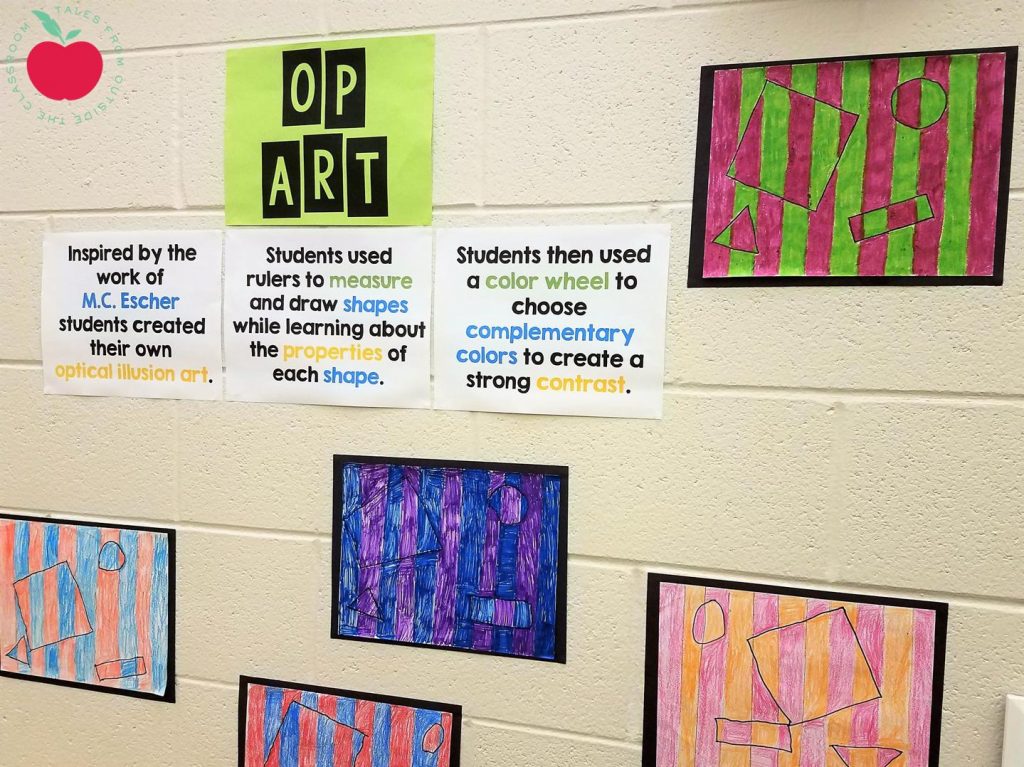
 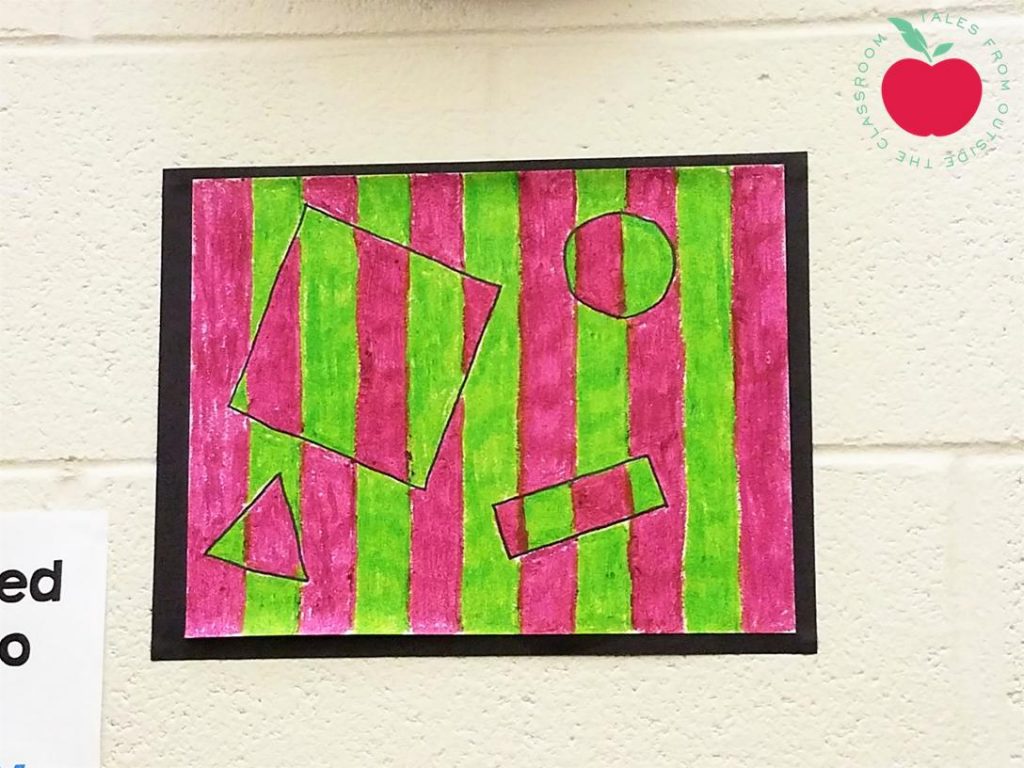 My students loved working on the project and really loved looking at their own and others’ finished projects! The students who chose complementary colors and have rich, deliberate coloring had the best outcomes.
 I received product and compensation from Go Teach! in exchange for this blog post. All opinions represented are my own, honest feelings about the product used.
Go teach!, formerly The Elmer’s Teacher Club, is an amazingly loud and incredibly proud new community created to inspire, empower, motivate and support educators like YOU! Join me and other teachers in this community by visiting the Go Teach! Facebook page.
Newsletter Sign Up
Signup for my weekly-ish newsletter. I send out exclusive freebies, tips and strategies for your classroom, and more!
Please Read!
You have successfully joined our subscriber list. Please look in your e-mail and spam folder for Tales from Outside the Classroom. Often, the confirmation email gets overlooked and you're night signed up until you confirm!

Hi! I’m Tessa!
I’ve spent the last 15 years teaching in 1st, 2nd, and 3rd grades, and working beside elementary classrooms as an instructional coach and resource support. I’m passionate about math, literacy, and finding ways to make teachers’ days easier. I share from my experiences both in and out of the elementary classroom. Read more About Me.


